In order to get the best image quality from your Nikon Z Mirrorless Camera it is so important to nail the exposure of the image. The exposure essentially depends on the following settings. ISO Setting Shutter Speed Lens Aperture When you look into the camera Menu there are quite a number of options to select. … Continue reading Getting The Exposure Correct With Your Nikon Z Mirrorless Camera
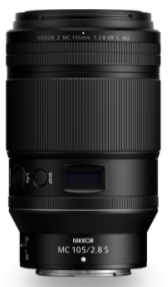
What I Love About the Nikon Z Camera System – 135mm f/1.8 Plena Lens – Sample Images

With the Nikon Z mirrorless camera system there is so much to like about the photographic system. There is an extremely wide range of lenses to choose from, small travelling suitable lenses, to the physically large and massive large aperture normal and super telephoto high performance lenses. Many years ago I used a Nikon Ai… Continue reading What I Love About the Nikon Z Camera System – 135mm f/1.8 Plena Lens – Sample Images
Using Extended Menu Banks with the Nikon Z Mirrorless Cameras
In order to get the best benefit out of the excellent Z8 camera you really need to understand how the Extended Menu Banks work. The individual shooting banks A, B, C and D are used to effectively store and recall all of the settings which you may use on a regular basis. they can be… Continue reading Using Extended Menu Banks with the Nikon Z Mirrorless Cameras
Focus Stacking with the Nikon Z Mirrorless Cameras

One of the excellent things that we can do with our current cameras is focus stacking of images so that we can get a vastly improved depth of field compared to capturing an image in a single frame. In the following section I show the Menu settings from the Nikon Z8 camera which enable us… Continue reading Focus Stacking with the Nikon Z Mirrorless Cameras
Prazi GPS Logging Unit With Shutter Release Remote Control for Nikon Cameras
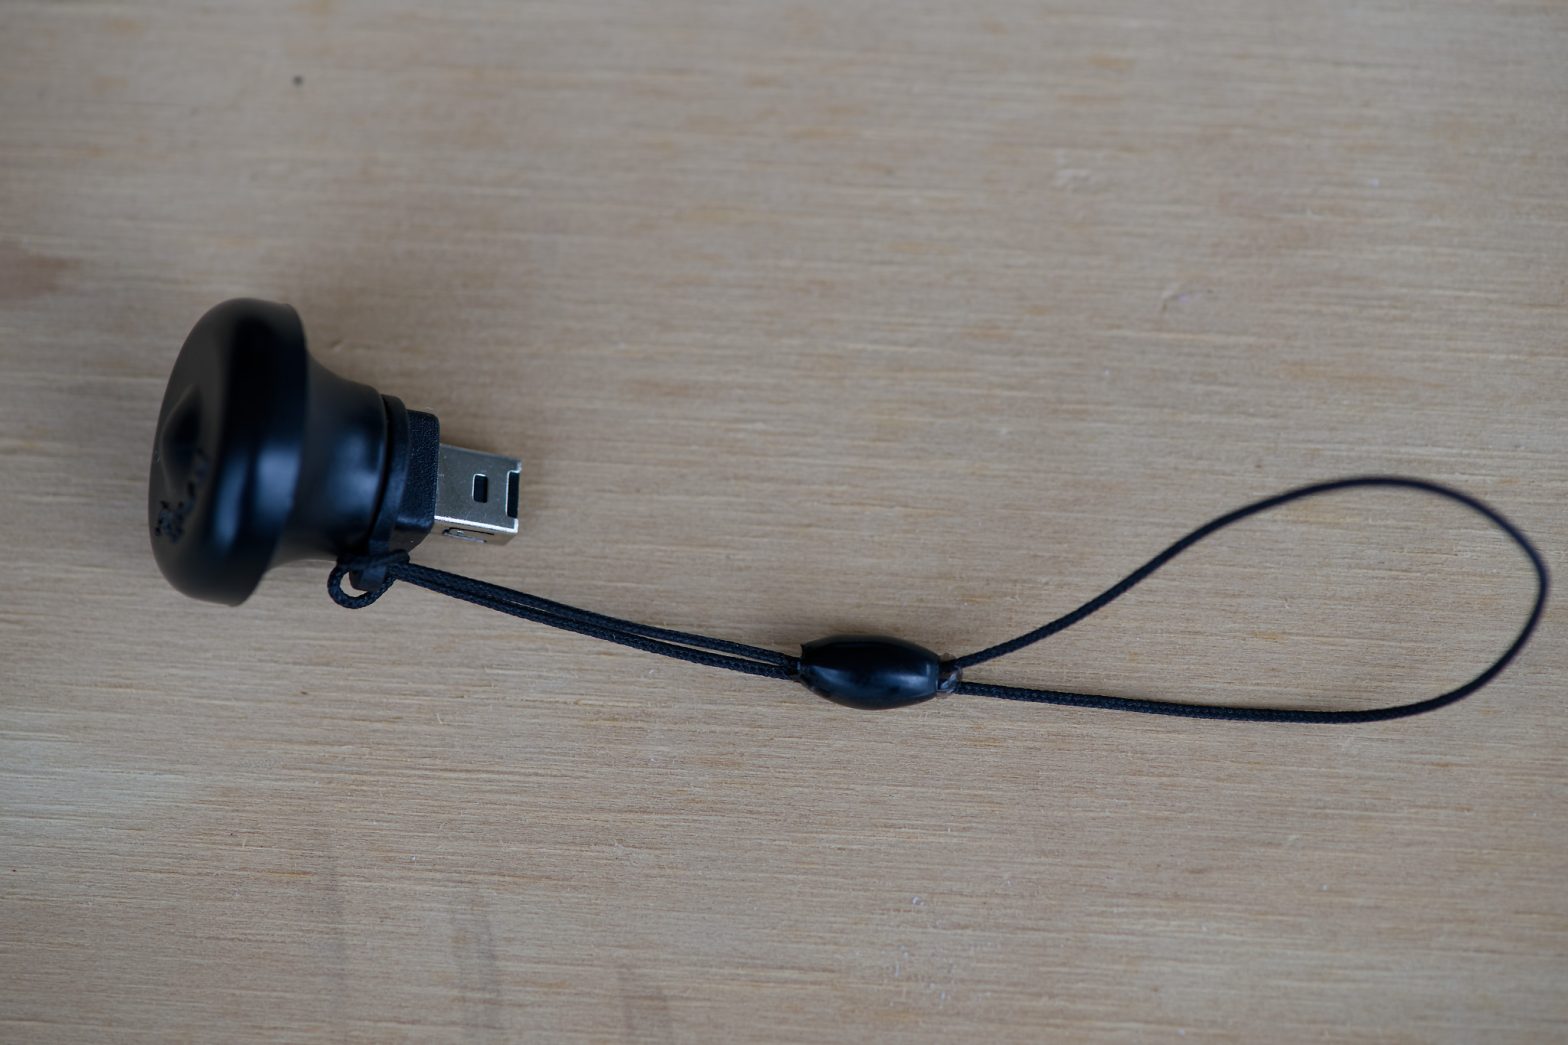
I was given two of these Prazi GPS Units with Shutter Release, Remote Control functionality for use on Nikon cameras for testing, evaluation and usage purposes. There are two seperate units. The first unit, the S Adapter, intended for use with Nikon cameras with the rectangular 10-pin connector ( Nikon Z5, Z6 series, Z7 series… Continue reading Prazi GPS Logging Unit With Shutter Release Remote Control for Nikon Cameras
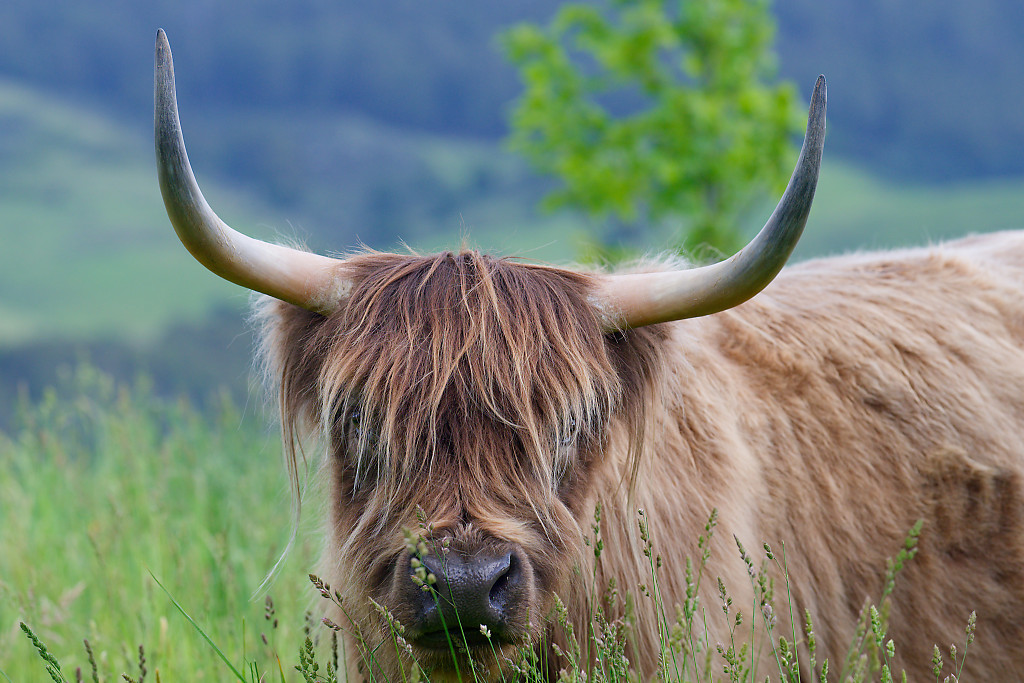
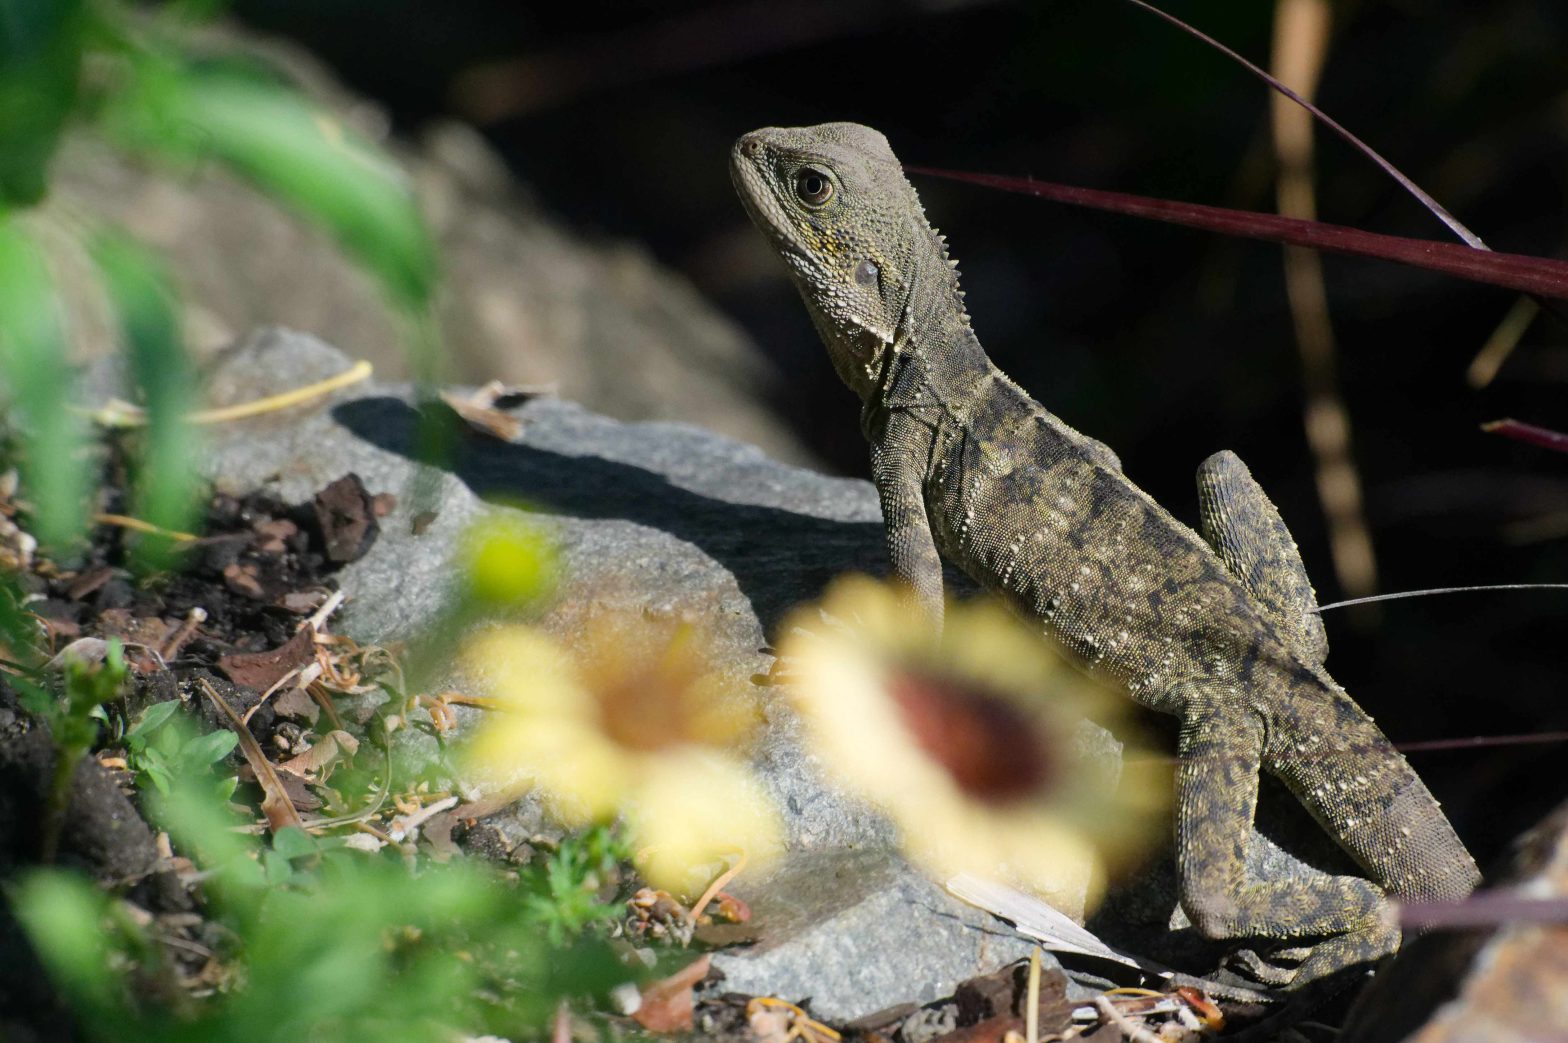
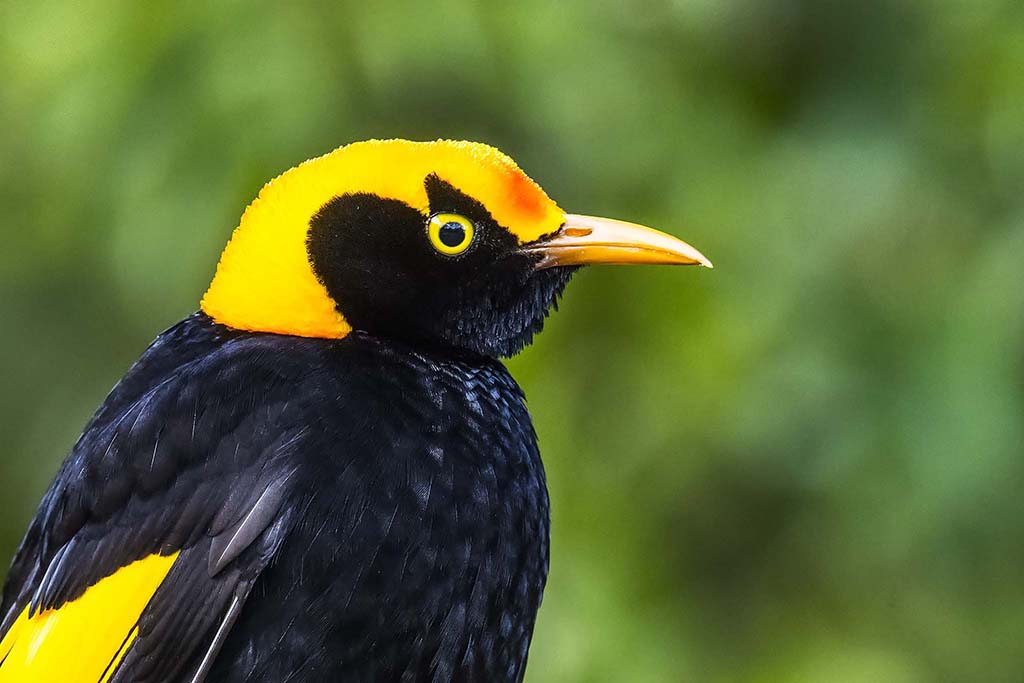
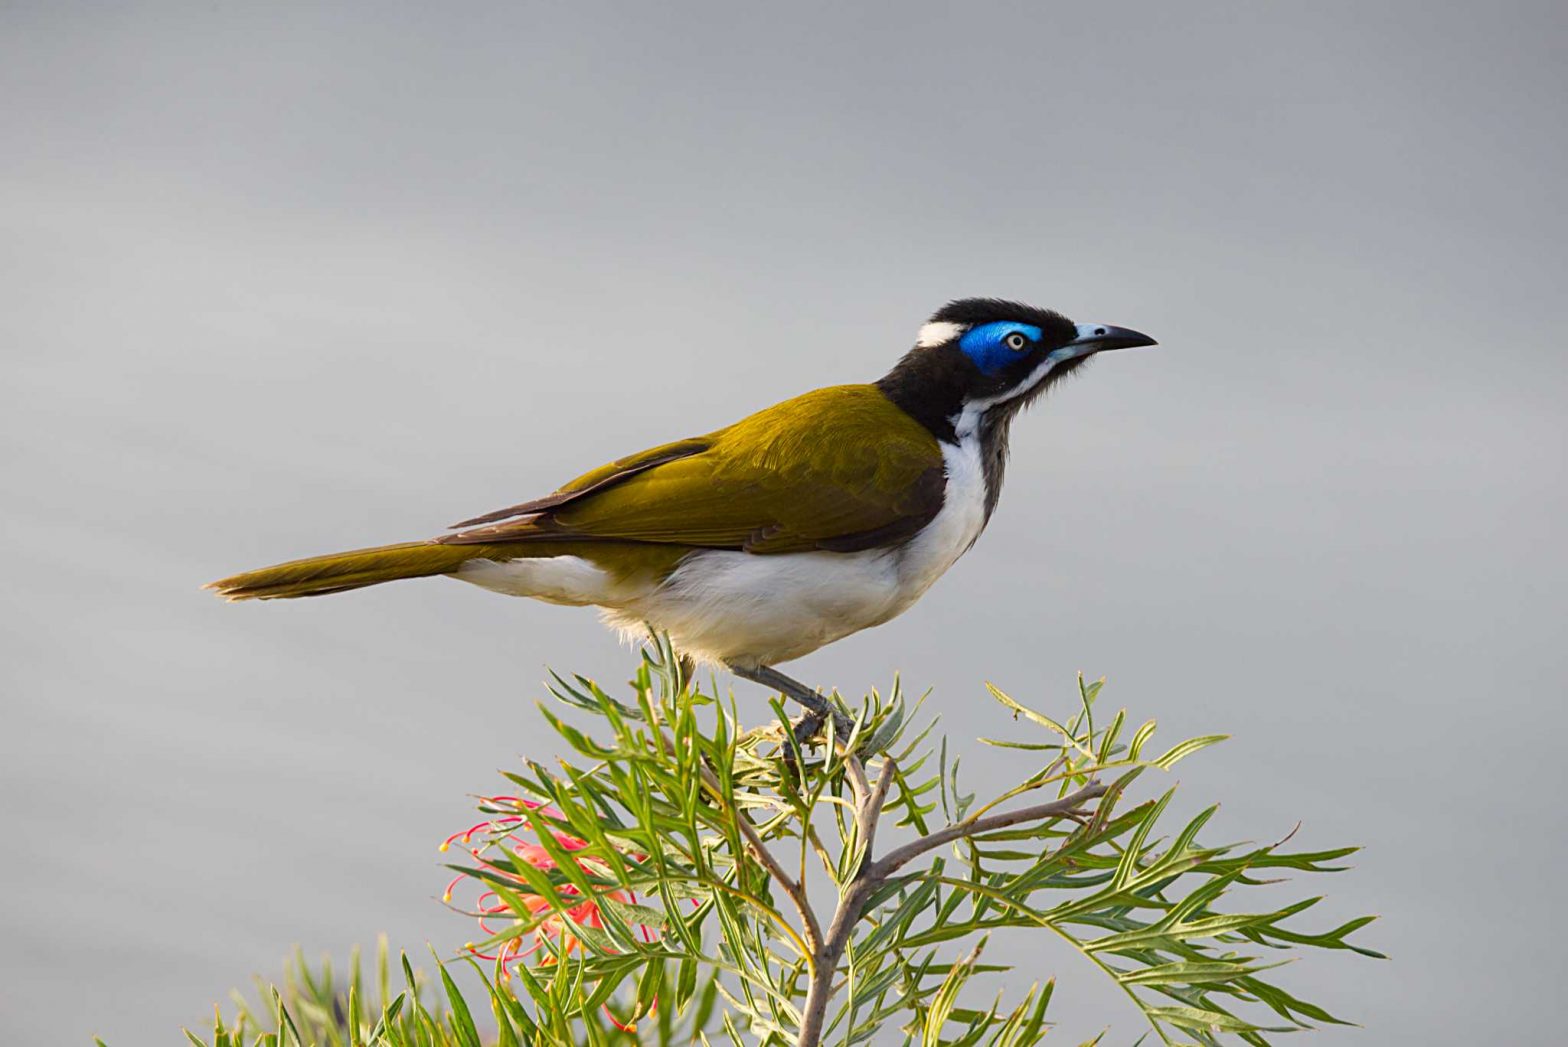
Nikon Z Mirrorless Camera Settings for Wildlife and Birds with Sample Images, NIKKOR Z 180-600mm f/5.6-6.3 Lens
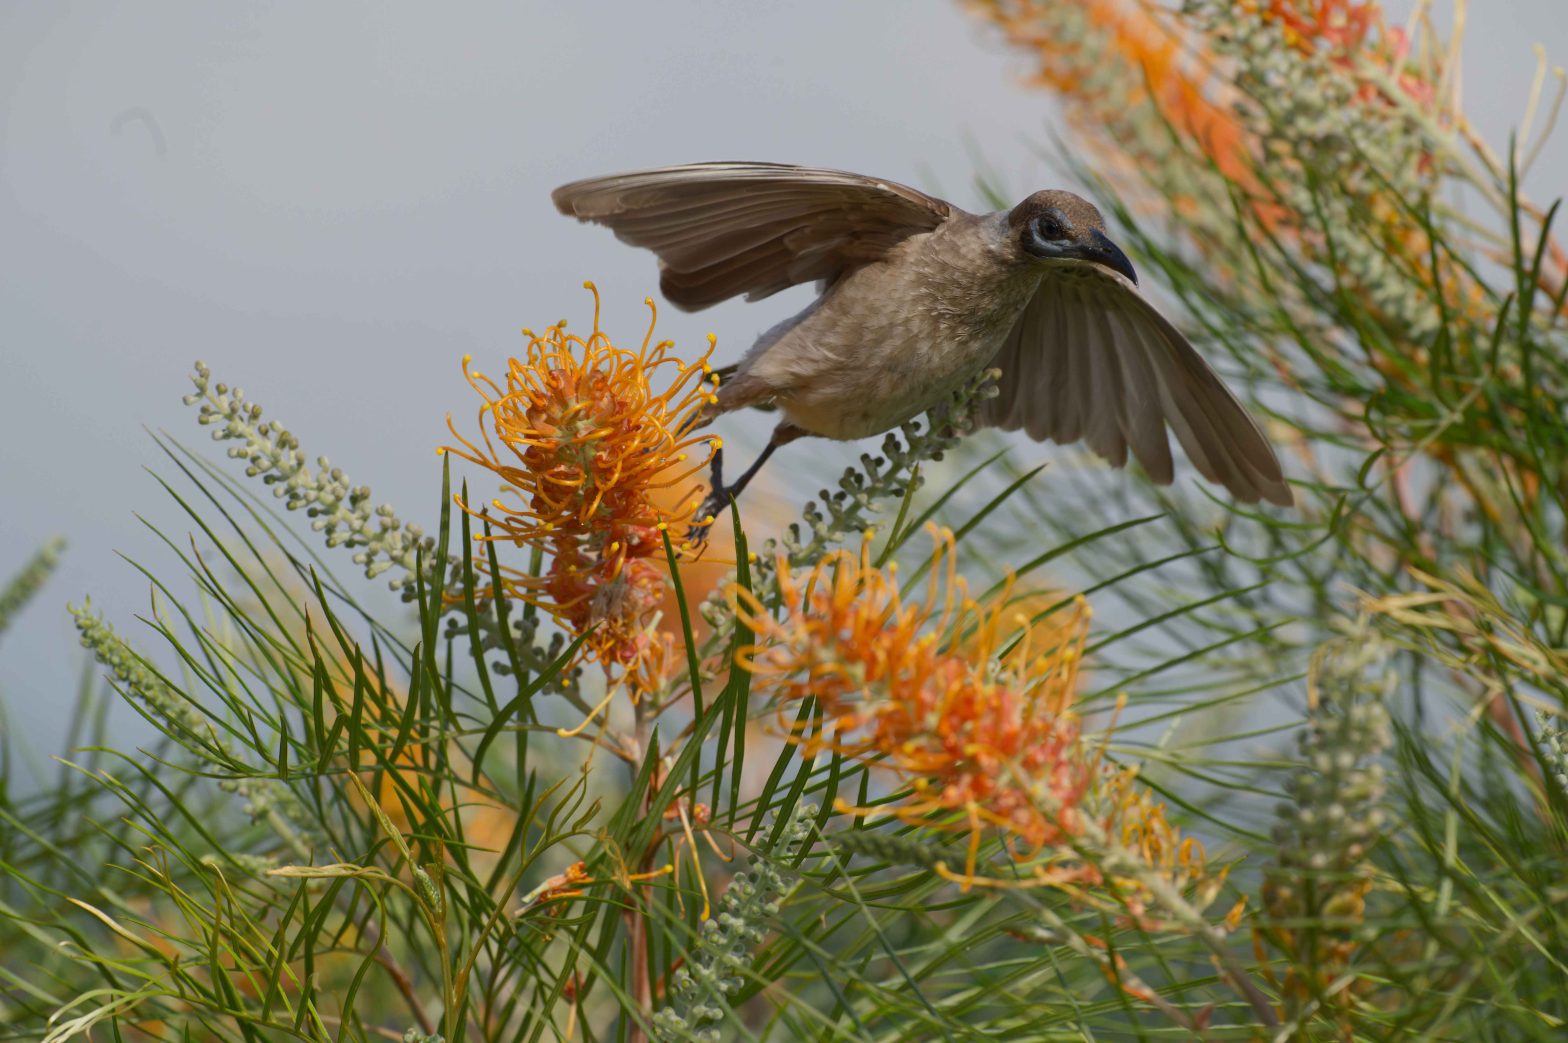
My Nikon D810 SLR camera recently died and I have had the opportunuty to use a Mirrorless Nikon Z6II. I have been using the Z6II with the NIKKOR Z 180-600mm f/5.6-6.3 lens for all the wildlife images in the Gallery below. There is always a learning curve with any different camera and I am also… Continue reading Nikon Z Mirrorless Camera Settings for Wildlife and Birds with Sample Images, NIKKOR Z 180-600mm f/5.6-6.3 Lens
Gold Coast Pacific Air Show – Nikon Z Mirrorless Camera and NIKKOR 180-600mm f/5.6-6.3 Lens

I have not been using the Nikon Z6II camera or the 180-600mm lens for very long, but gave it a good test run at the Gold Coast Pacific Air Show last Saturday. My favourite plane at the show was probably the Yak110 aircraft and it was amazing to see the pilot fly this plane. The… Continue reading Gold Coast Pacific Air Show – Nikon Z Mirrorless Camera and NIKKOR 180-600mm f/5.6-6.3 Lens
A Detailed Review of the Nikon NIKKOR Z 180-600mm f/5.6-6.3 VR Lens Including Sample Images with Nikon Z Mirrorless Camera
Nikon NIKKOR Z 180-600mm f/5.6-6.3 VR Lens This lens of focal length 180 to 600mm and maximum aperture of f/5.6 to 6.3 is not one of Nikon’s S range of lenses, it is a relatively cheaper version but still of very high quality and performance. The lens effectively replaces the older 200-500mm f/5.6 lens of… Continue reading A Detailed Review of the Nikon NIKKOR Z 180-600mm f/5.6-6.3 VR Lens Including Sample Images with Nikon Z Mirrorless Camera
A Detailed Review of the Nikon NIKKOR Z DX 50-250 4.5-6.3 VR Lens Including Sample Images
I have regularly used this lens with the Nikon Z50 camera for telephoto work and have been very happy with the image results, I have found it to be an excellent performing lens. The lens mount is plastic rather than metal but this should not be a problem as todays plastics are very robust. My… Continue reading A Detailed Review of the Nikon NIKKOR Z DX 50-250 4.5-6.3 VR Lens Including Sample Images
Grizly Bears From Grouse Mountain, Vancouver, BC, Canada.

On a recent trip to Canada I visited Grouse Mountain, Vancouver. On the mountain there are several Grizly Bears in a very natural environment, which had recently came out of hibernation. The bears were very active in their environment and it was a great venue to get many natural images of these magnificent creatures. The… Continue reading Grizly Bears From Grouse Mountain, Vancouver, BC, Canada.
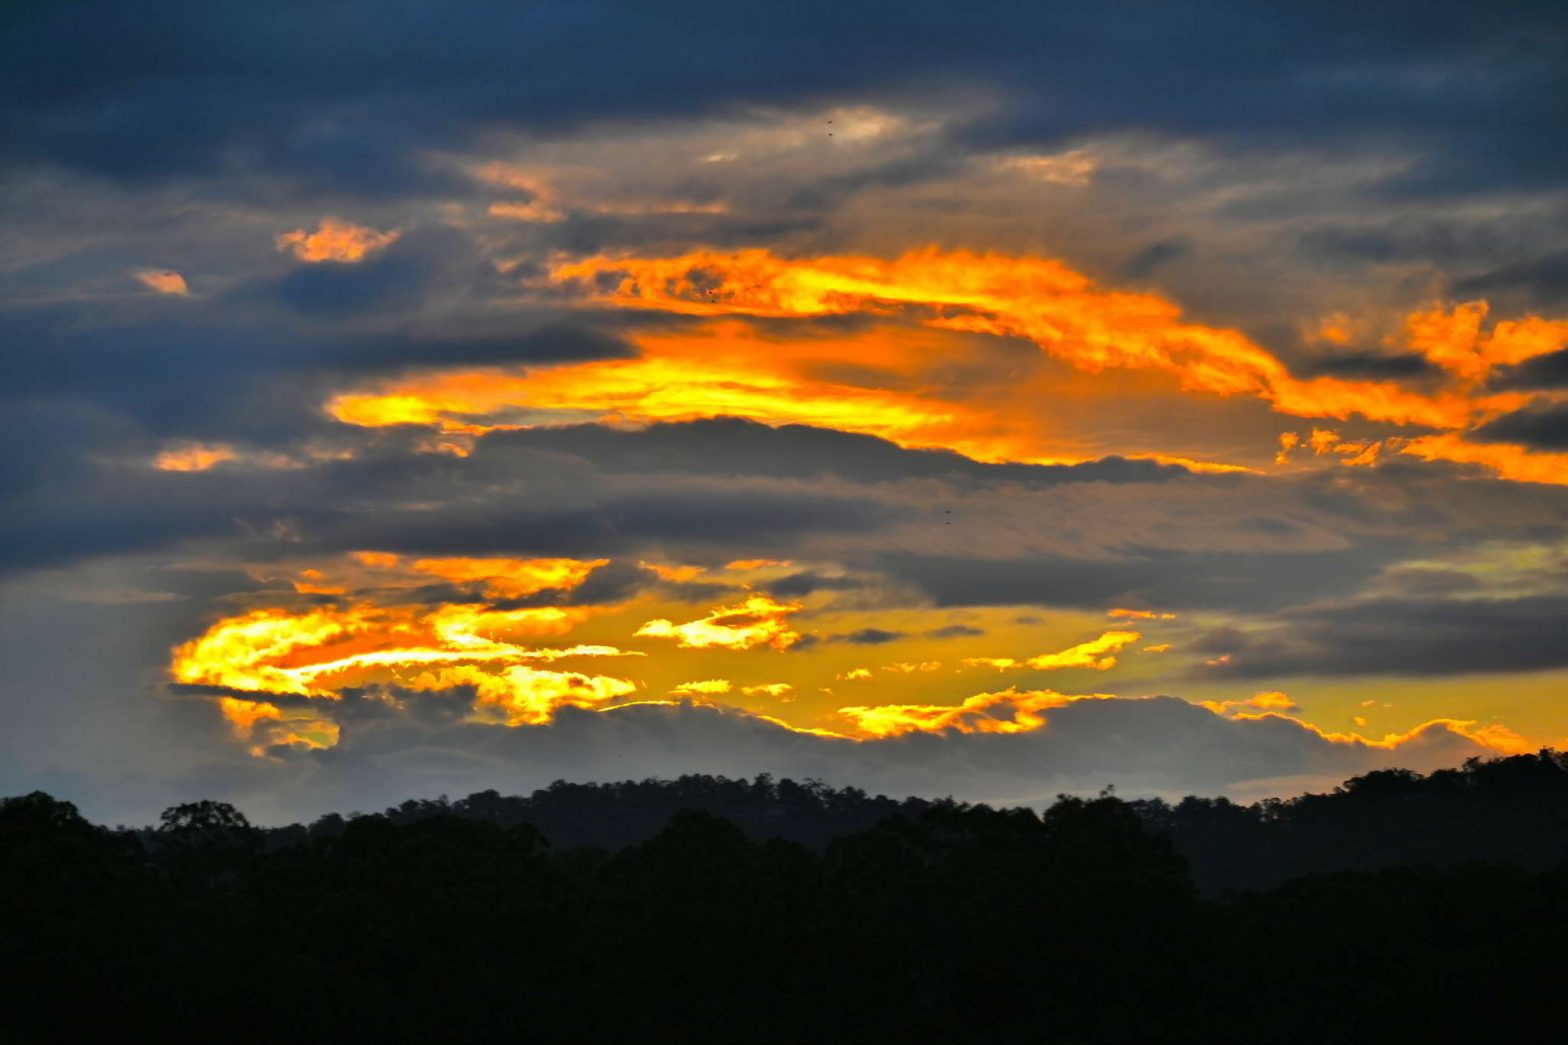
An Astro Image From Red Rock, New South Wales – A Stitched Panorama Of Single Images
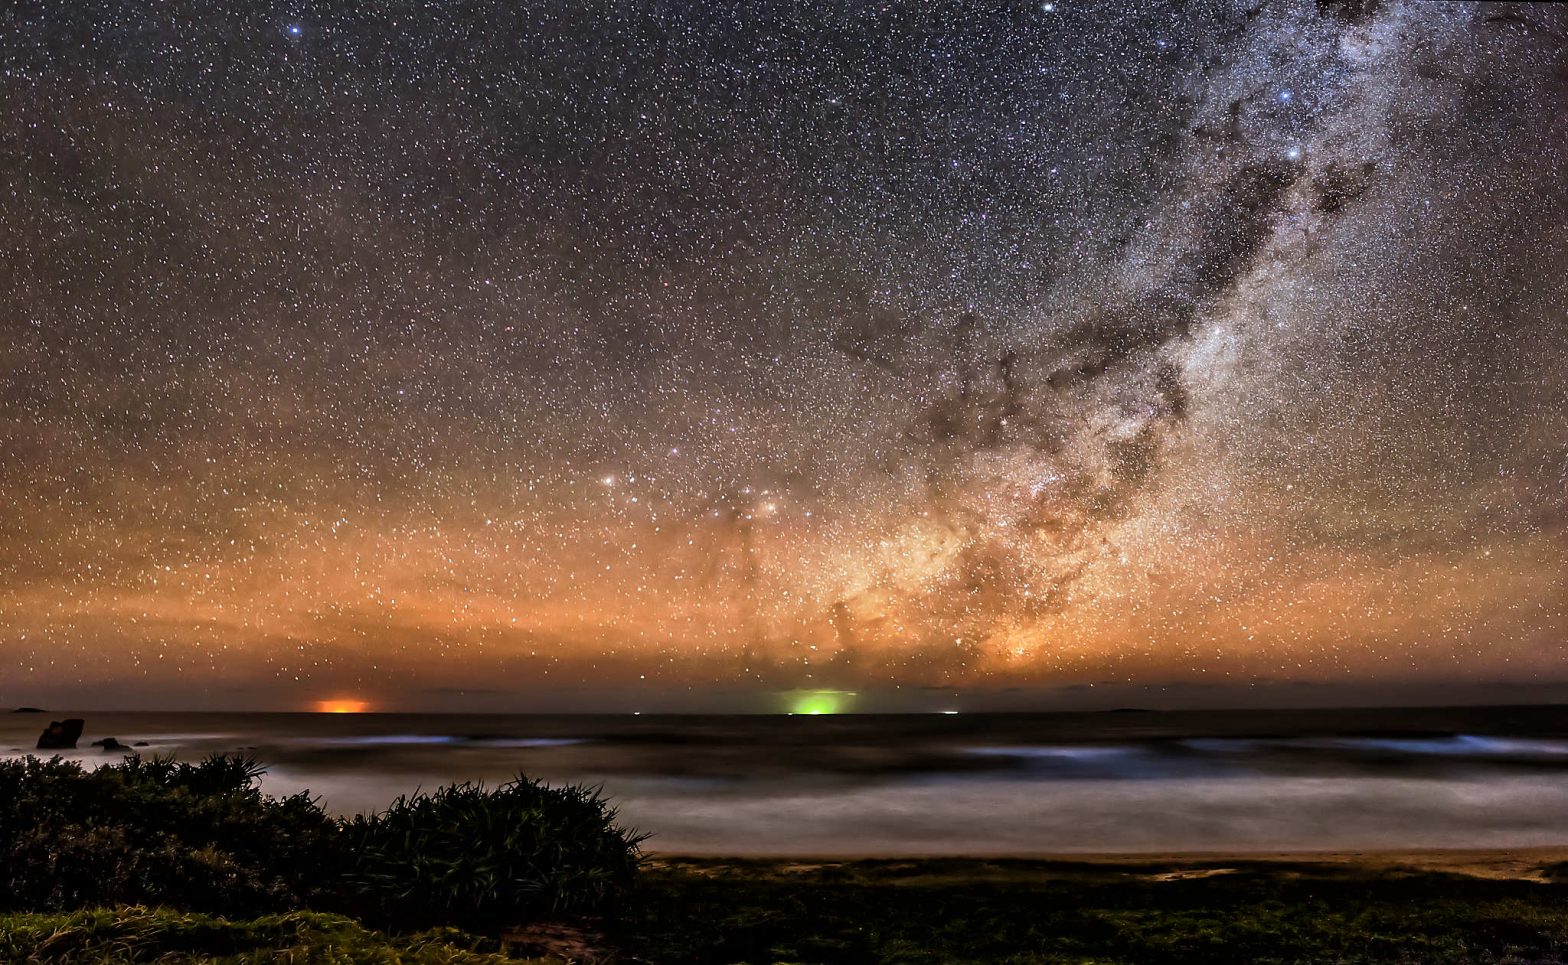
Quite often with my images I like to go back and look at images I took a few years ago and reprocess them. Generally the processing software has improved with much better noise reduction and other enhanced processing actions. Also with time, our processing techniques may also have improved significantly with improved skill level. With… Continue reading An Astro Image From Red Rock, New South Wales – A Stitched Panorama Of Single Images
A Catalogue And Specifications Of All The Current Nikon Z Mirrorless Lenses
The information below summarises all the available Nikon Z lenses for the Nikon Mirrorless Z range of cameras. As new lenses become available I will add to the list to keep it complete. Nikon have not published what the S stands for on their S lenses but I believe it stands for Super, Spectacular, Stunning… Continue reading A Catalogue And Specifications Of All The Current Nikon Z Mirrorless Lenses
Sample Images and Review of the Nikon Z50 DX Camera
The Nikon Z50 is a wonderful small camera, it can almost be called tiny, compared to some of the larger Mirrorless and large Digital SLR cameras. It has a huge resolution for a small camera, 20.9 million effective pixels and has a capability of a wide range of ISO settings, from ISO100 to ISO51,200 which… Continue reading Sample Images and Review of the Nikon Z50 DX Camera
Nikon NIKKOR Z DX 16-50mm f3.5-6.3 VR Lens Review with Sample Images

This lens from Nikon is the first of the Mirrorless DX lenses. It is retractable so that it is very small when retracted and approximately doubles in size when it is extended for operation. The retractable lens is a great idea to keep the overall size of the camera lens combination to quite a small… Continue reading Nikon NIKKOR Z DX 16-50mm f3.5-6.3 VR Lens Review with Sample Images
Nikon NX Studio Software – Full Video Movie Editing Review
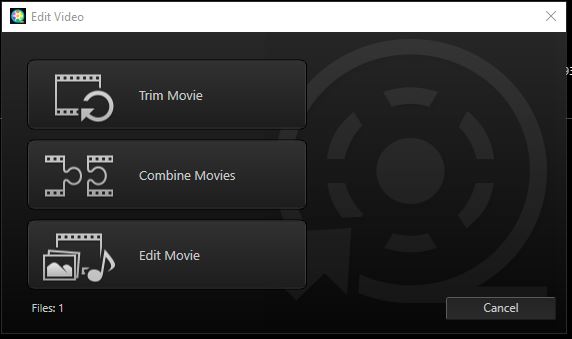
The new Nikon NX Studio software has a very useful addition to the still image processing and that is processing and editing video/movie files. I have recently reviewed the still image processing part of this software and will now review the video image editing functionality. Thumbnails Once your video captures have been added to your… Continue reading Nikon NX Studio Software – Full Video Movie Editing Review
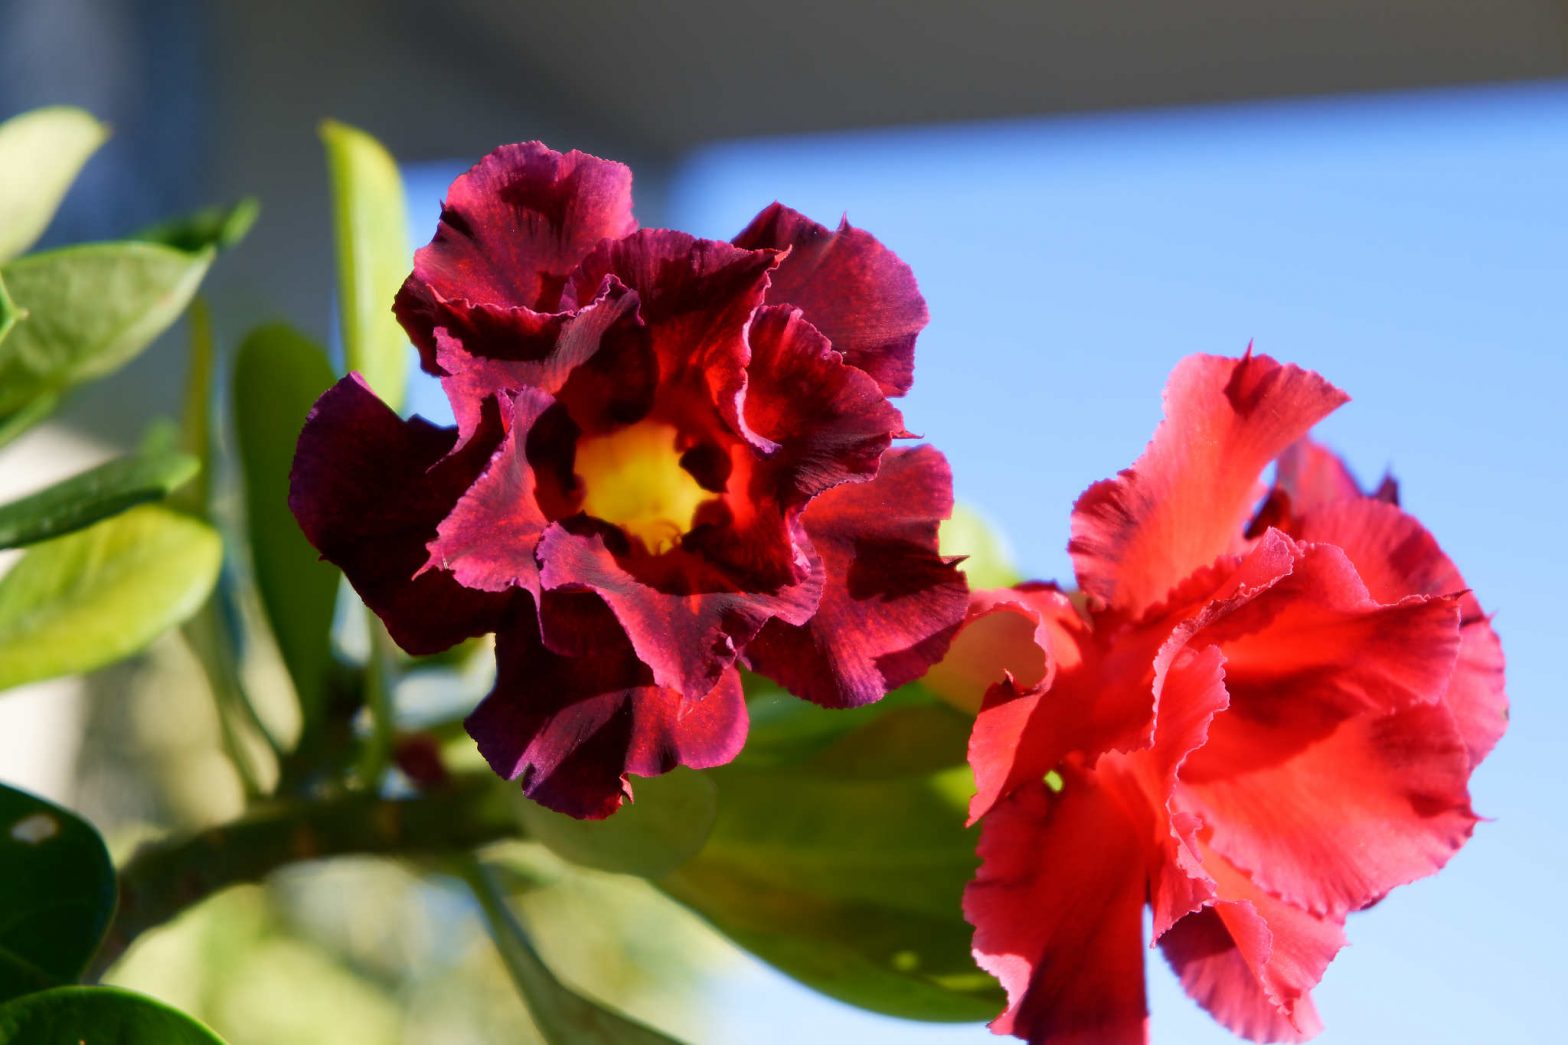
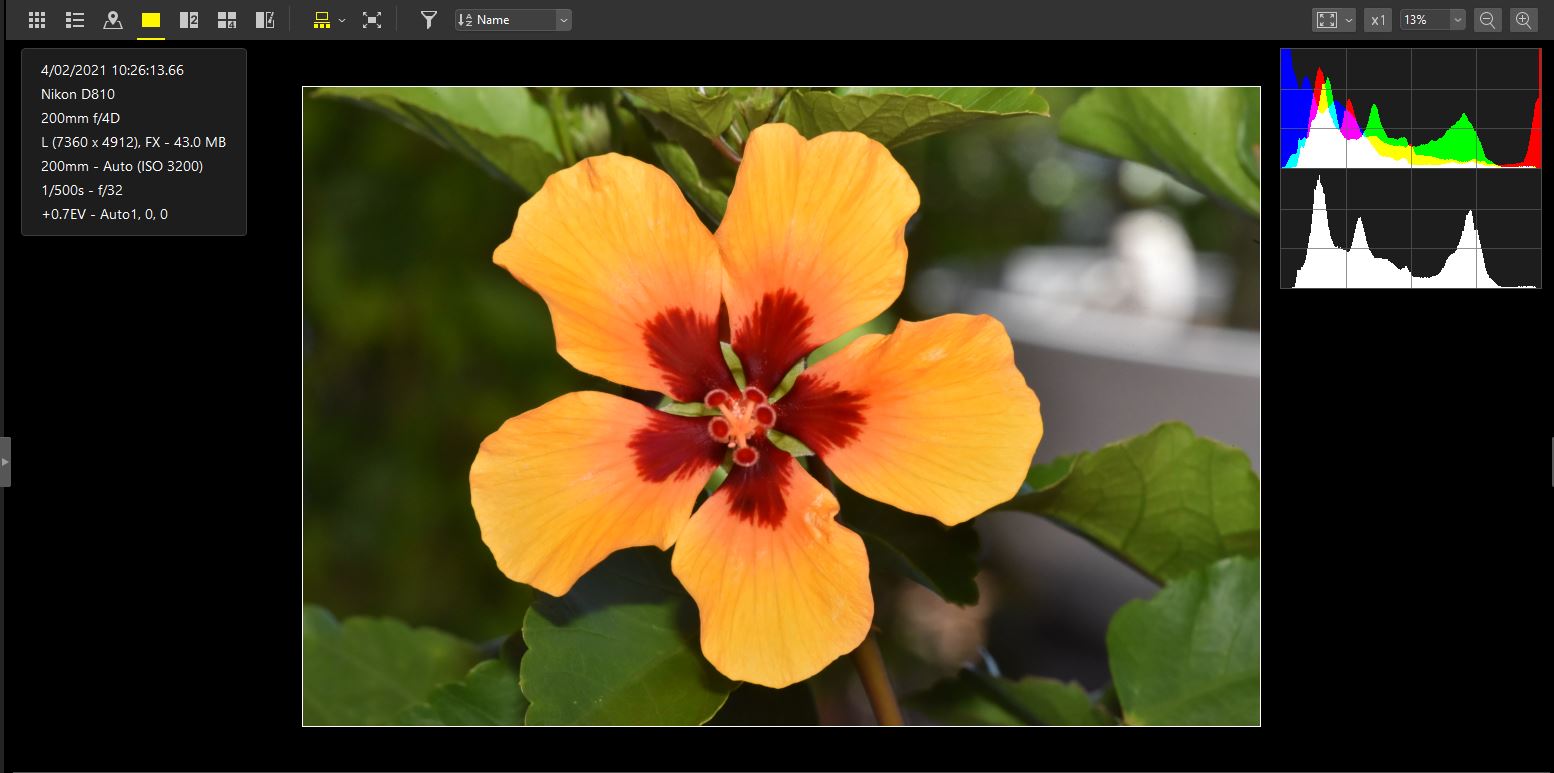
Some More Sample Images Processed in Nikon NX Studio Software with 200mm f/4D IF ED Micro Lens
This Blog is both a review of sample images processed with the new FREE Nikon NX Studio Software and a review of some of the images from the Nikon 200mm f/4D IF ED Micro Lens. The Hibiscus Flamenco The Hibiscus Flamenco has been processed in NX Studio using the following adjustments: Adjust Composition/Crop Tool –… Continue reading Some More Sample Images Processed in Nikon NX Studio Software with 200mm f/4D IF ED Micro Lens
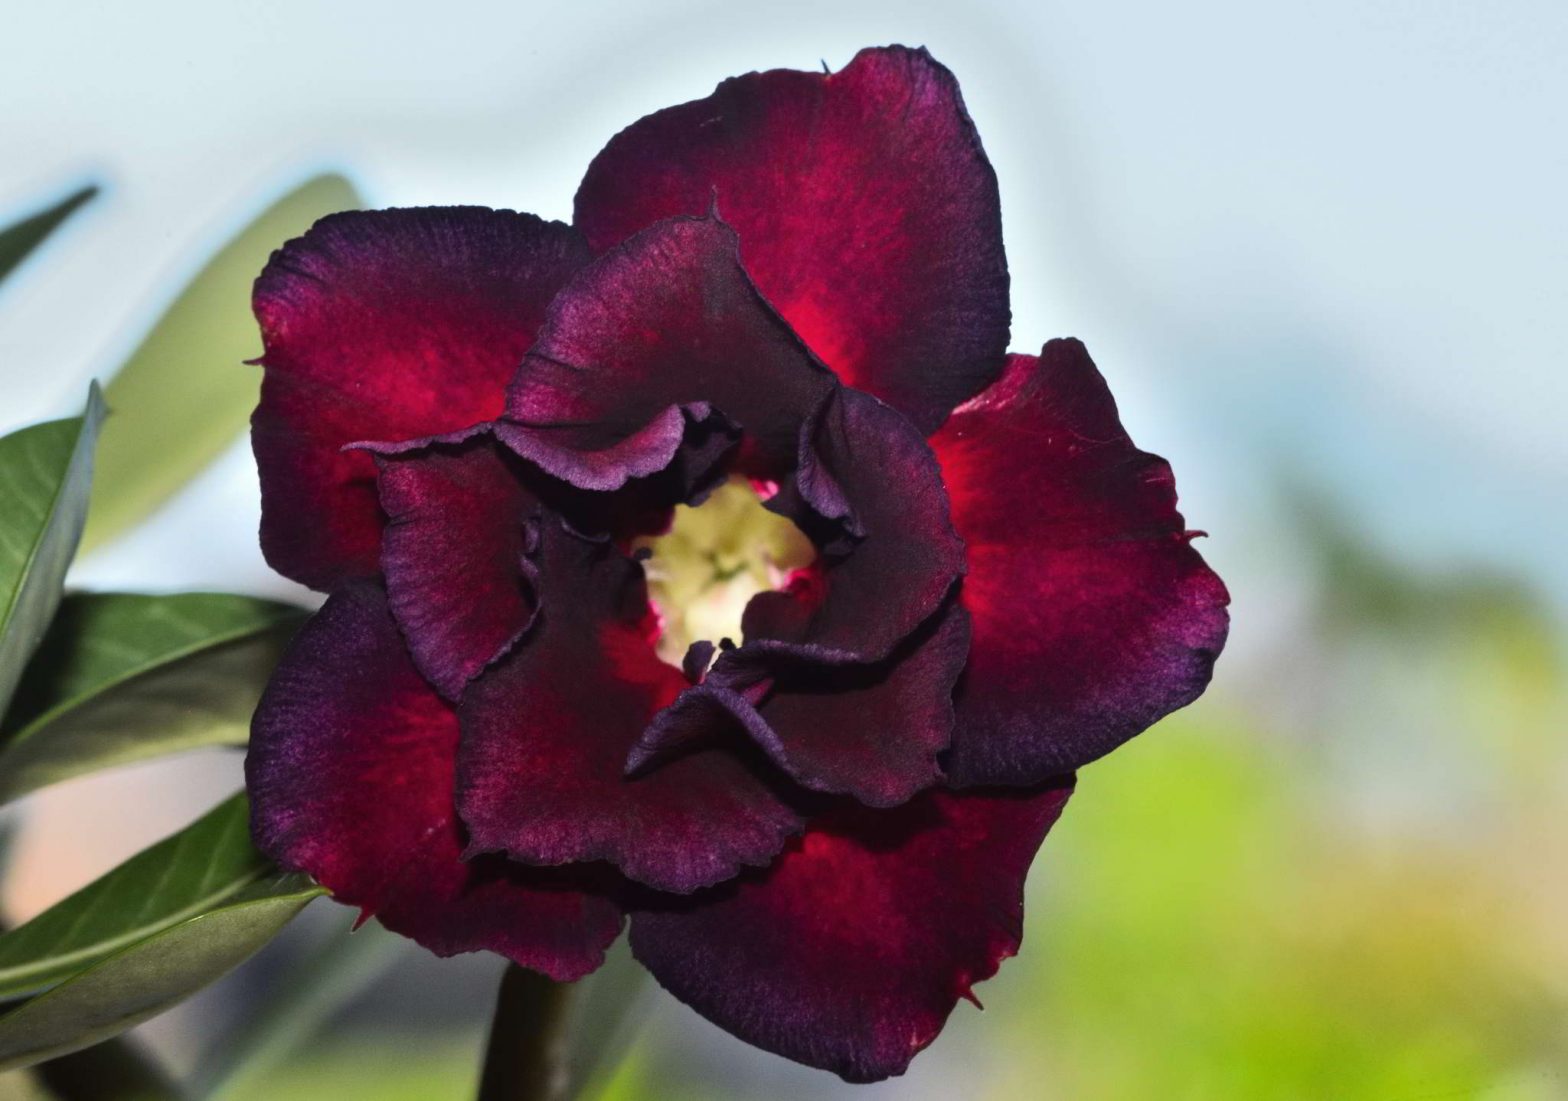
Some Sample Images Processed in Nikon NX Studio Software
I am finding that The new Nikon NX Studio is very nice to touch up and post process my Nikon D810 files. The package is somewhat basic as it does not have the layers and masking type of settings, but you would not really expect those types of settings in a free software package such… Continue reading Some Sample Images Processed in Nikon NX Studio Software
Improve Your Images With Nikon NX Studio Software
Nikon NX Studio is the new software from Nikon for adjusting your camera’s RAW files. This software is FREE and from my initial look at it, it appears to be quite good. It would appear that basically most of the adjustments required for post processing of your images would be included with this software. If… Continue reading Improve Your Images With Nikon NX Studio Software
Over 50 of the Best Tips To Help You Improve your Photography
There are many ways to improve your photography and the subject ranges from understanding the technical jargon of photography to the way you compose the image and also to the aspect of having your camera with you when a photographic opportunity arises. Tip 1 – Have your camera with you at all times. I love… Continue reading Over 50 of the Best Tips To Help You Improve your Photography
Improving Your Photography By Getting Sharper Images From Your Camera
There are many ways you can improve your photography. One of the main aspects is to improve the sharpness of your images that you capture. If we look at all the issues and there are many which can contribute to movement of the image captured by the camera sensor; it is the camera sensor which… Continue reading Improving Your Photography By Getting Sharper Images From Your Camera