Nikon NX Studio is the new software from Nikon for adjusting your camera’s RAW files. This software is FREE and from my initial look at it, it appears to be quite good. It would appear that basically most of the adjustments required for post processing of your images would be included with this software. If you do want to improve the images directly out from your camera and do not want to pay for post processing software then this software may be for you, you will definitely be able to adjust and improve your images withe some of these basic adjustments.
See this Blog for Video Movie Editing with this software.
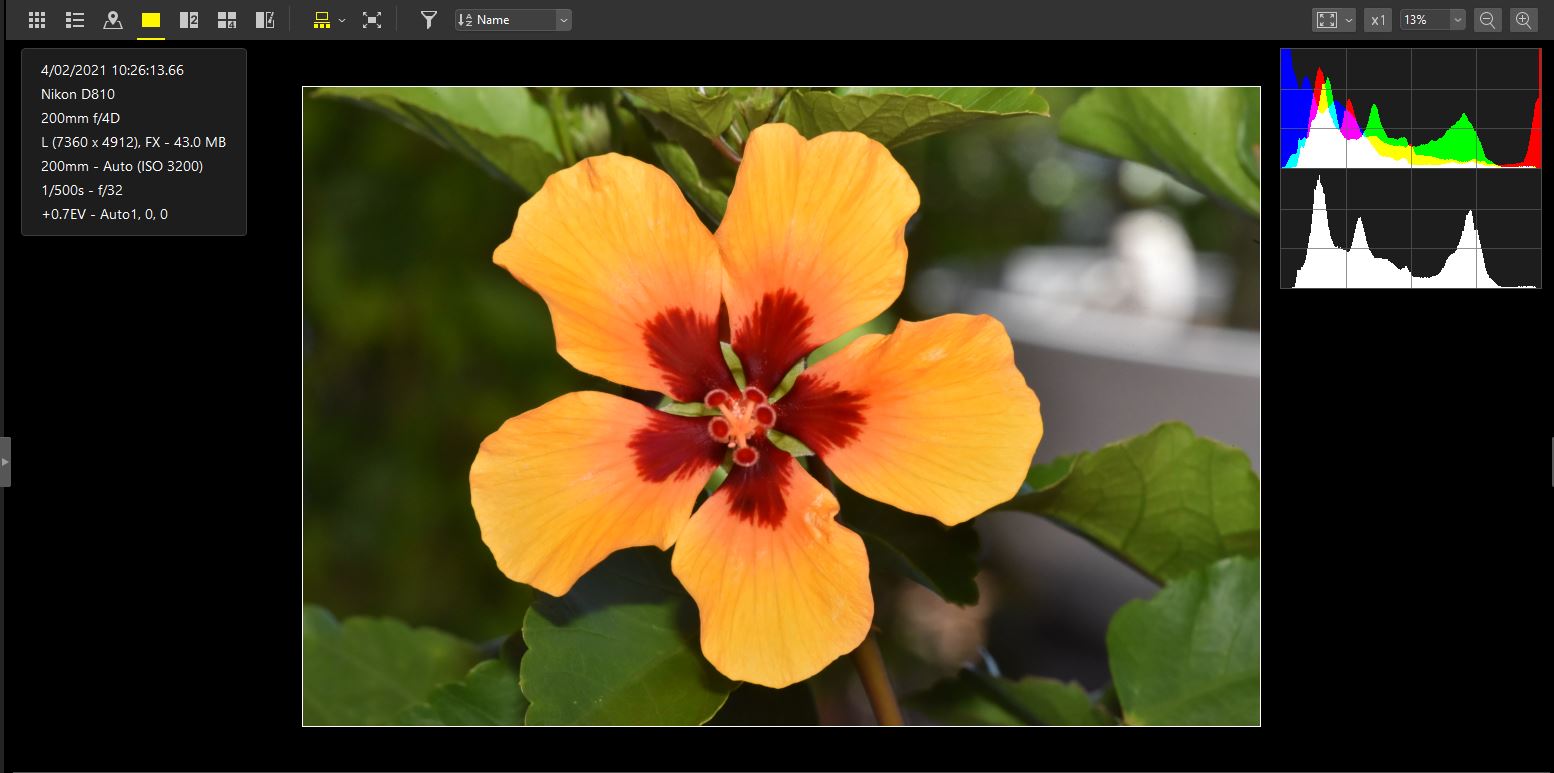
Browser Image Viewer
In the Image Viewer there are the following options to set the viewer up to suit your needs:
- View Thumbnails,
- View the Thumbnail List,
- Switch to Map View,
- Two Image View,
- Four Image View,
- Before and After View,
- View or hide the Film Strip, horizontally or vertically,
- Switch to all image view.

Histogram
The Histogram can be viewed with the following options:
- RGB,
- R – Red,
- G – Green,
- B – Blue,
- Brightness.
Adjustment Screen
There are icons at the top of the Image Adjustments Screen to enable quick select of the following functions:
- Gray point sample tool,
- Auto retouch brush,
- Colour control points tool for colour and brightness of selected areas,
- Crop tool,
- Straighten tool.
Use these icons to get quickly to the main adjustment parts of the software. The adjustments for each of those tools will be sumarised in the below descriptions.
All of the adjustments described below should be carried out on the camera RAW files (.nef) to get the best results. In general JPEG (.jpg) files will not be able to be adjusted to get good results. Always configure your camera to take RAW files, if you will ever want to post process the images.
I will always set my camera to save the images to both JPEG fine and RAW settings.
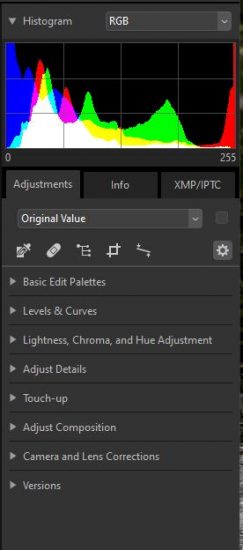
Basic Edit Palettes
All the basic edit palettes are shown below:
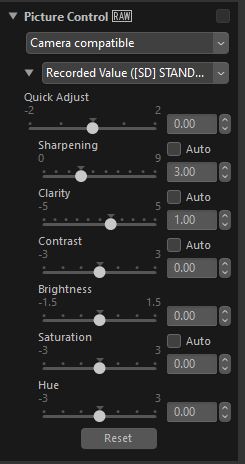
Picture Control
The following Picture Control selections can be chosen:
- Camera Compatible – Colors are processed using the Picture Controls for the camera that took the picture. Choose this option for colour reproduction matching that used on the camera.
- The following options can be set:
- Standard,
- Neutral,
- Vivid,
- Monochrome,
- Portrait,
- Landscape,
- Flat,
- Adjustments can be recorded on a list,
- Edit Recorded Adjustment list.
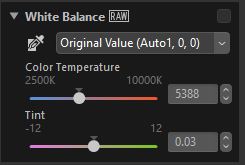
White Balance
The following White Balance adjustments can be done:
- Original Value setting,
- Colour Temperature adjustment,
- Use Grey Point,
- Original Value,
- Calculate Automaticlly,
- Auto 1,
- Auto 2,
- Incandescent,
- Fluorescent (3,000K),
- Fluorescent (3,700K),
- Fluorescent (4,200K),
- Fluorescent (5,000K),
- Fluorescent (6,500K),
- Fluorescent (7,200K),
- High CRI Fluorescent (3,000K), Color Rendering Index (CRI) LED,
- High CRI Fluorescent (3,700K), Color Rendering Index (CRI) LED,
- High CRI Fluorescent (4,200K), Color Rendering Index (CRI) LED,
- High CRI Fluorescent (5,000K), Color Rendering Index (CRI) LED,
- High CRI Fluorescent (6,500K), Color Rendering Index (CRI) LED,
- Direct Sunlight,
- Shade,
- Cloudy,
- Flash,
- FL-G1, Flood Light,
- FL-G2,Flood Light,
- TN-A1, tungsten lighting,
- TN-A2, tungsten lighting,
- Sodium-vapor Lamps,
- Record Adjustments,
- Edit Recorded Adjustments.
- Tint adjustment.
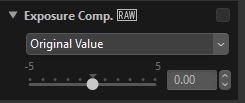
Exposure Compensation
The following Exposure Compensation adjustments can be done:
- Original Value setting,
- Exposure Compensation to a maximum of +5 to -5 stops.
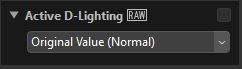
Active D-Lighting
By getting the active D-lighting refined you can get the best dynamic range from your camera.
The following selection options can be made:
- Original Value (Normal}.
- Off,
- Low,
- Normal,
- High,
- Extra High 1,
- Extra High 2.
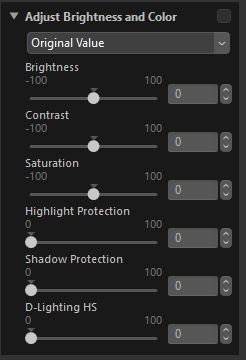
Adjust Brightness and Colour
- Original value, value can be recorded,
- Brightness Slider, adjustable -100 to +100,
- Contrast Slider, adjustable, -100 to +100,
- Saturation Slider, adjustable, -100 to +100, increased saturation can improve and brighten up images,
- Highlight Protection, adjustable, 0 to 100, you can possibly bring out more details in the highlight areas,
- Shadow Protection, adjustable, 0 to 100, you can possibly bring out more details in the shadow areas,
- D-Lighting HS, adjustable 0 -100, brighten shadows in backlit or poorly lit pictures or reduce loss of detailin highlights.
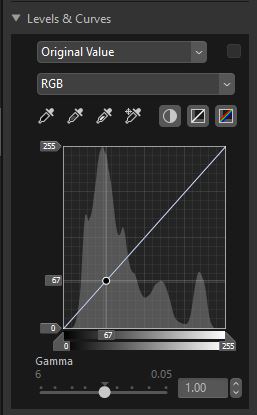
Levels and Curves
- Original value, value can be recorded,
- Set for,
- RGB,
- Red,
- Green,
- Blue.
- Set Black Point,
- Set Neutral Point,
- Set White Point,
- Add Anchor Point,
- Auto Contrast,
- Rest Current Channel,
- Reset All Channels,
- Functionality is provided to fully adjust all points of the levels and curves, these adjustments can be set to improve highlights, improve the darks, improve the contrast and also possibly accentuate some of the colors in the image,
- Gamma adjustment from 6 to 0.05.
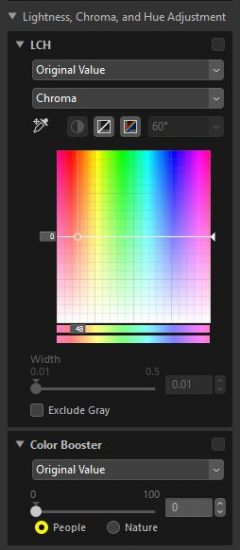
Lightness Chroma and Hue (LCH) Adjustment
LCH
- Original value, value can be recorded,
- Following settings are provided:
- Chroma, can be adjusted over the full chroma range, making colours more or less vivid,
- Hue, can be adjusted over the full hue range,
- Colour Lightness, adjusts lightness of selected colours without affecting chroma or hue,
- Master Lightness, adjusts overall lightness without affecting chroma or hue.
Color Booster
- Original value, value can be recorded,
- Adjustable slider from 0 to 100,
- Selections for:
- People,
- Nature.
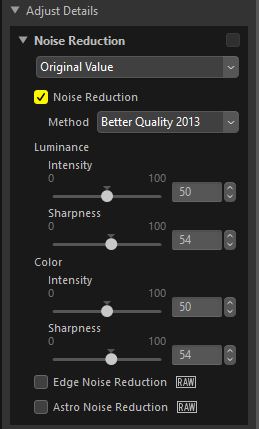
Adjust Details
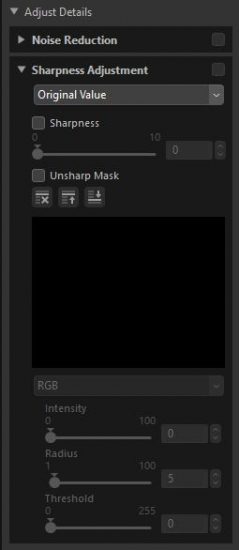
Details can be adjusted for both noise reduction and sharpness adjustment. Many images can be improved by using the noise and sharpness adjustments. These tools can have the effect to increase the detail in your images.
Images taken at night at high ISO settings in dull light conditions will have some amount of noise in the images and this can be significantly reduced by using the noise reduction adjustments.
The sharpness adjustment will give more apparent sharpness to the final image. It can really improve a good sharp image but may not be able to make a blurry image good. !!
Noise Reduction
- Original value, value can be recorded,
- Select Noise Reduction,
- Method,
- Faster,
- Better Quality,
- Better Quality 2013, for higher quality results,
- Luminence Intensity slider, from 0 to100,
- Luminance Sharpness slider, from 0 to 100,
- Color Intensity slider, from 0-to 100,
- Color Sharpness slider, from 0 to 100,
- Edge Noise Reduction selection,
- Astro Noise Reduction selection.
Sharpness Adjustment
These adjustments can be quite complex, but if you are careful and try out the settings it will become second nature to improve your images.
- Original value, value can be recorded,
- Select Sharpness, slider adjustable from 0 to 10,
- Select Unsharp Mask, with following options,
- RGB,
- Red,
- Green,
- Blue,
- Yellow,
- Magenta,
- Cyan,
- Intensity slider adjustable from, 0 to100,
- Radius slider from 1 to 100,
- Threshold slider from 0 to 100.
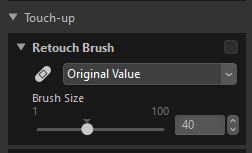
Touch-up
Retouch Brush
This tool can be used to remove spots or other blemishes in your images.
- Original value, select brush size, slider adjustable from 0 to100.
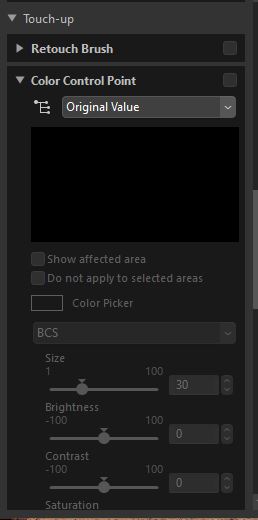
Color Control Point
I really like the possibilities with this adjustment to fix or improve an image in selected areas.
-
- Original Value,
- Select, Show affected Area,
- Select, Do not apply to selected areas,
- Color Picker,
- Select Options,
- All,
- BCS,
- HSB,
- RGB.
- Selections
- Size,
- H (Hue),
- S (Saturation),
- B (Brightness),
- C (Contrast),
- R (Red),
- G (Green),
- B (Blue),
- W (Warmth),
- Reset.
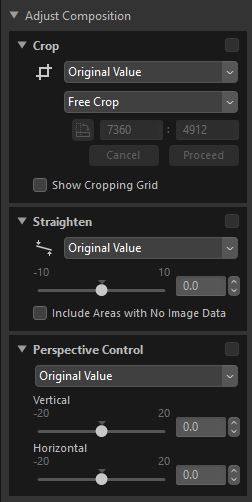
Adjust Composition
Crop
The following adjustments are provided.
- Original Value,
- Free Crop,
- Orient the Crop
- Crop Size is shown
- Cancel crop
- Proceed with crop,
- Option to Show Cropping Grid.
Straighten
The following adjustments are provided.
- Original Value,
- Slider with -10 to +10 variation,
- Include Areas With No Image Data.
Perspective Control
- Original value, value can be recorded,
- Slider to adjust Vertical -20 to +20,
- Slider to adjust Horizontal -20 to +20.
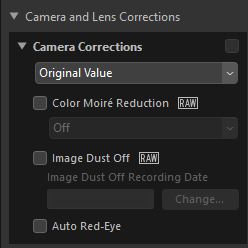
Camera and Lens Corrections
Camera Corrections
- Original value, value can be recorded,
- Color Moire Reduction,
- Off,
- Low,
- Medium,
- High,
- Image Dust Off – An image dust off file is required to help remove dust from image,
- Auto Red-Eye selection.
Lens Corrections
- Original value, value can be recorded,
- Lateral color Aberration can be selected,
- Axial Color Aberration can be selected,
- Slider with -100 to +100 adjustment,
- Auto Distortion Control,
- Off/On selection,
- Vignette Control,
- Slider with -100 to +100 adjustment,
- Diffraction Compensation selection,
- PF Flare Control, for PF lenses,
- Fisheye compensation, for Nikon fisheye lenses,
- Include Areas With No Image Data,
- Fill Color,
- Select Fill Color.

This NX Studio software is a great improvement on the previously available Nikon NX-i software and it offers much more functionality to set up your images.
Some of my favourite parts of this software are as follows:
- I find it very good to initially have a first browse of my images and to have a first look at them and sort them if required.
- I love the Map functionality to enable me to save a .gpx file on my mobile phone and then to be able to insert the GPS metadata into the image file so that I know where each images has been captured.
- I firmly believe that if you use a Nikon camera, then Nikon Company will be the best to know their Nikon file structure, the camera and lens corrections and they will know how to get the best results out of the file when post processing, to enable you the photographer to get the best possible image.
- In the Adjust Details section of this software package I am really liking the Color Control Point adjustments as it gives good flexibility to fully adjust selected areas of images.
In the future I will post some images to illustrate some of the images I have processed with this software, so please come back to visit.
2 comments
Comments are closed.