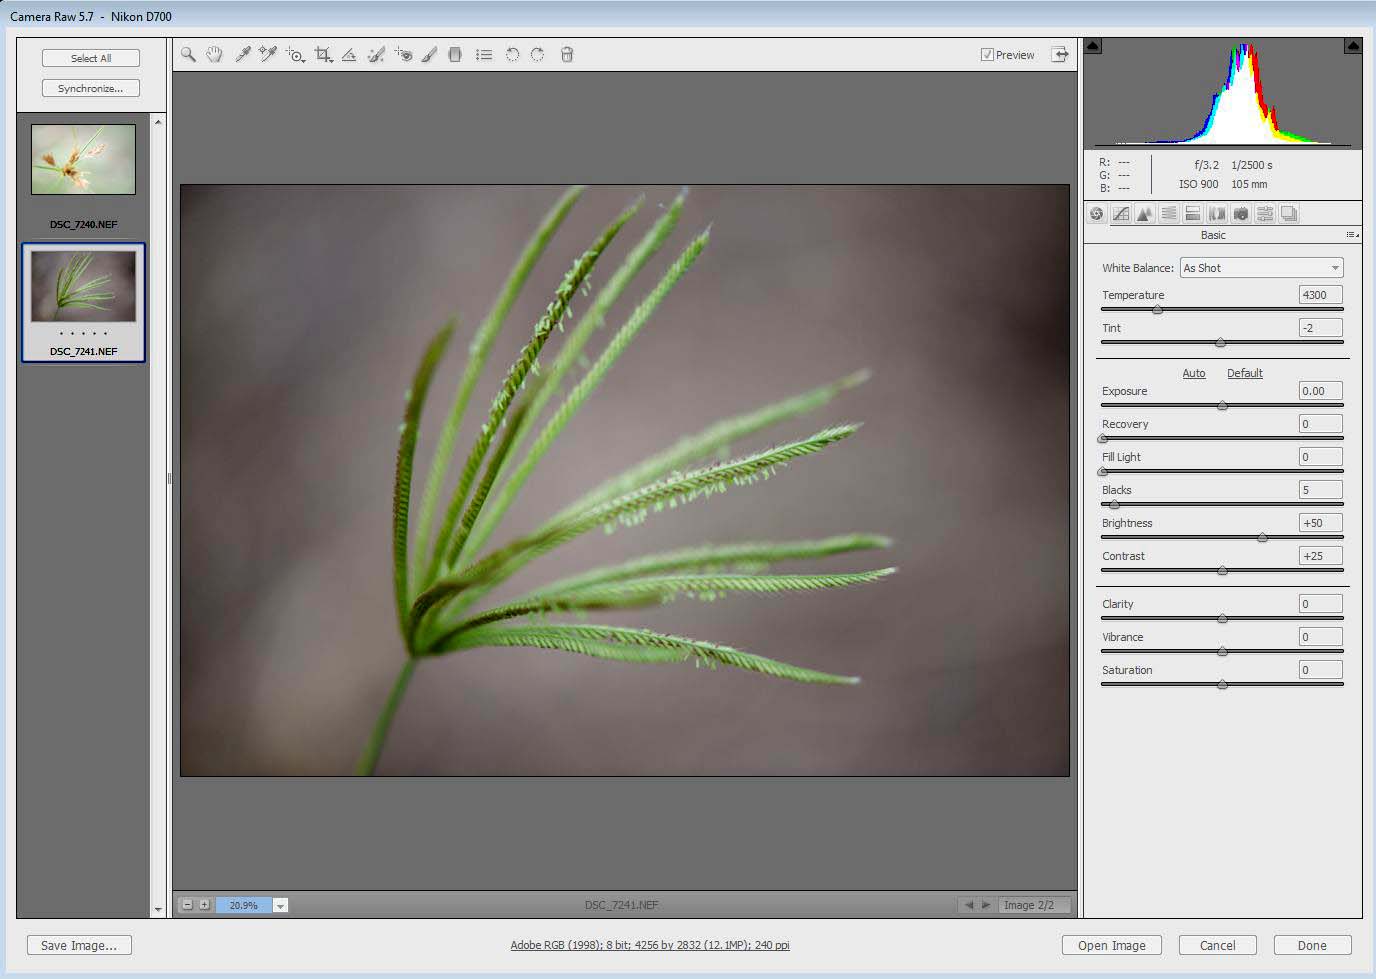
Adobe Camera Raw is one of the most popular raw converters. It is most desirable to capture your images in the raw format if you are aiming for the best qualityimages. The screen shot above shows the basic Camera Raw functions. Along the top is a Tool Bar which is illlustrated.
Category: Photoshop Tutorials, High Dynamic Range (HDR), Double Exposure, Focus Stacking, Adobe Camera Raw Post Processing
Colorizing an Image
Images can be vastly improved by adding some colour, in this image an improvement was acheived using the NIK software plug-in for Photoshop.
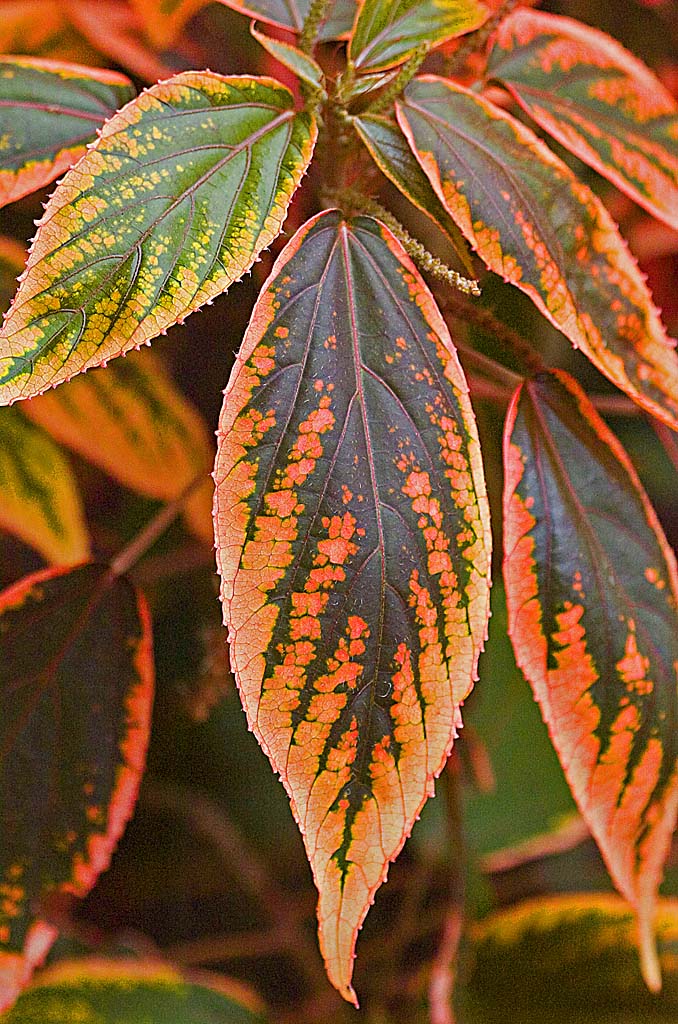
Applying Tonal Contrast to Images
Tonal contrast actions in Photoshop give control over the contrast in the highlights, mid tones ans also in the shadow areeas of images, each can be controlled seperately for adjustment.
Multiple or Double Exposures
With todays digital photography technology, multiple exposures can be relatively easy to produce under controlled conditions. Here Photoshop can come to the rescue. Multiple exposures ar relatively easy to produce by using layers, selecting the areas around the image that you want to eliminate and then combining the layers. Some selections may need to be… Continue reading Multiple or Double Exposures
Raw Image Files and Processing
In general most Digital Single Lens Reflex (DSLR) cameras offer several options to record the image files. In general these formats are TIFF, JPG or RAW files.
Saturation
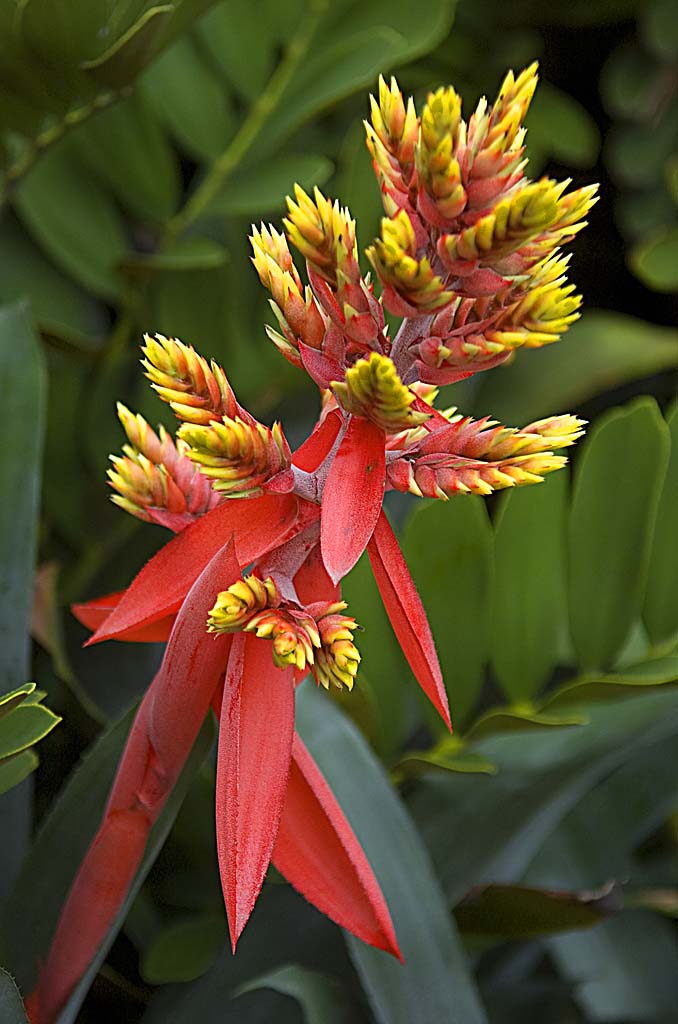
Increasing the saturation of an image is a great way to give it a lift. With film we used to use polarising filters to reduce reflections and to improve the saturation of our images.
Solarization
In the days of film photography solarization resulted from extreme overexposure. A pseudo-solarization can be created in the darkroom by taking the picture normally and then during the development phase exposing the image for a few moments to white light.
Unsharp Mask
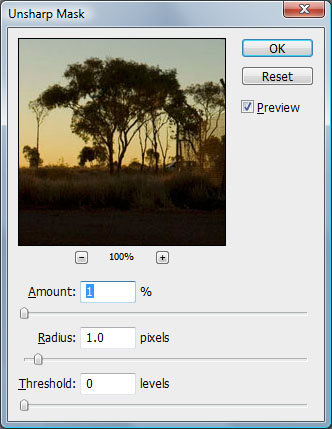
One of the mysteries of digital photography is the Unsharp Mask, why is it needed, how is it done and what does it do to the image. The idea behind unsharp masking is to exagerate the light dark contrast between any edges in the image. Any light dark boundary becomes more distinct.
Post Processing for Quality Images
In order to produce the highest quality images it is essential to establish a professional workflow through the complete imaging process from download, through organisation, editing, manipulation and saving the files. Downloading Some downloading software now provides image editing functions through the downloading process, however this is generally less than the best optimised results possible.… Continue reading Post Processing for Quality Images
Automating Your Photographic Workflow
Automating your workflow can save many hours in processing your image files. Essentially Photoshop provides three methods of automation to process your image files. The first two methods, Actions and Batch Processing are quite easy to learn, however the third, Scripts is far more complex and requires programming knowledge.