There are many ways to improve your photography and the subject ranges from understanding the technical jargon of photography to the way you compose the image and also to the aspect of having your camera with you when a photographic opportunity arises. Tip 1 – Have your camera with you at all times. I love… Continue reading Over 50 of the Best Tips To Help You Improve your Photography
Category: Exposure, Aperture, Shutter Speed, ISO
Beginners Guide – Top Ten Tips to Improve Your Photography
There are many things you can do to improve your photography. In the following article we will sumarise the tem main thing you can implement to make your images stand out.
Water Movement Photography
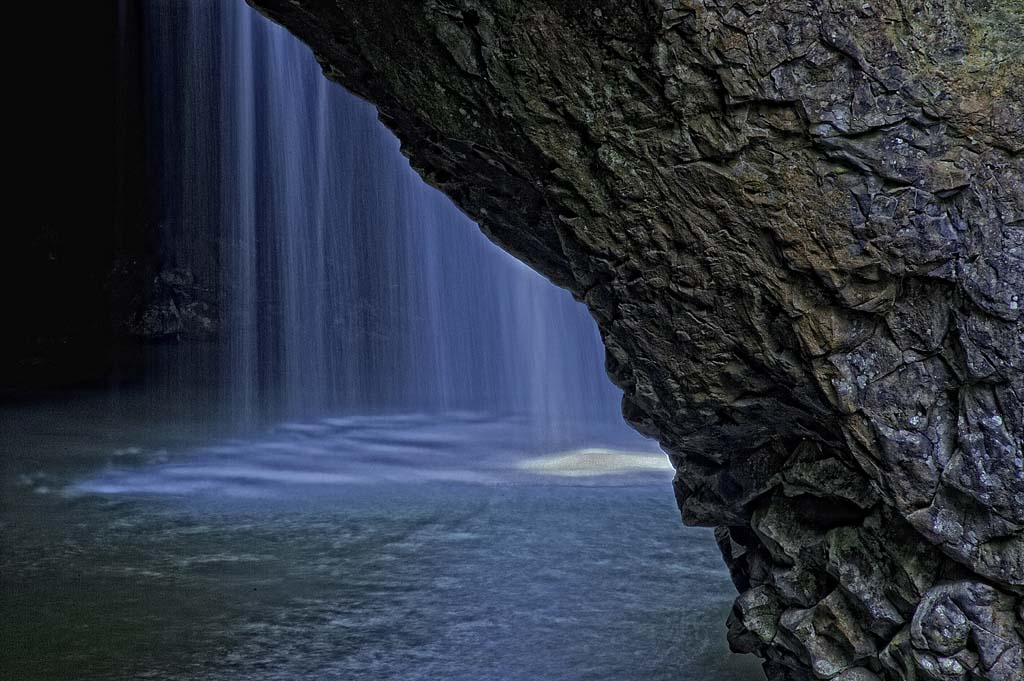
The movement of water can help to create interesting images. In order to capture images such as these it is essential to use a tripod, as shutter speeds close to 1 second or greater will be required. Generally a shutter speed of 1/8 of a second will start to blur the moving water, but with a tripod any shutter speeds up to 1/2 minute can be tried.
Getting The Image Right In The Camera
Photoshop is a great software package, but the secret to obtaining stunning images is to get everything right in the camera and after you have achieved that, then work on the image in Photoshop. Most of the work in getting a good image happens before the Photoshop stage. We have other articles on Workflow after… Continue reading Getting The Image Right In The Camera
Large Aperture Lens
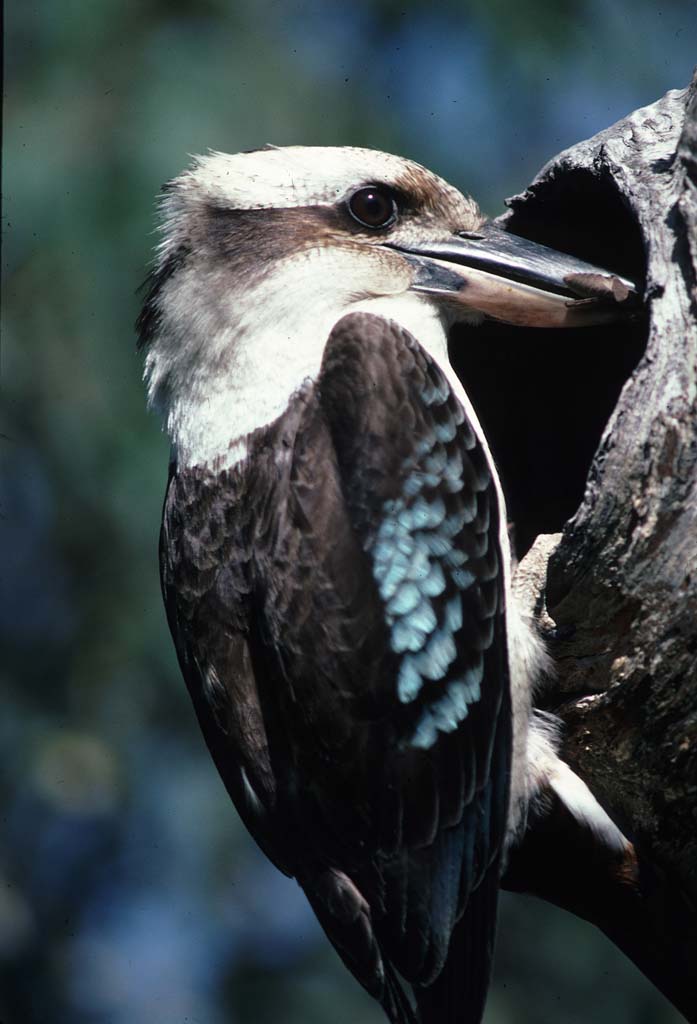
Large lens apertures will be required in dull light. The image below was taken inside a building in very dull lighting conditions, in these situations large lens apertures of f/1.4 to f/2.0 will be required. The larger the lens aperture the more light is received at the film or image sensor. Also large apertures may… Continue reading Large Aperture Lens
Slow Shutter Speed
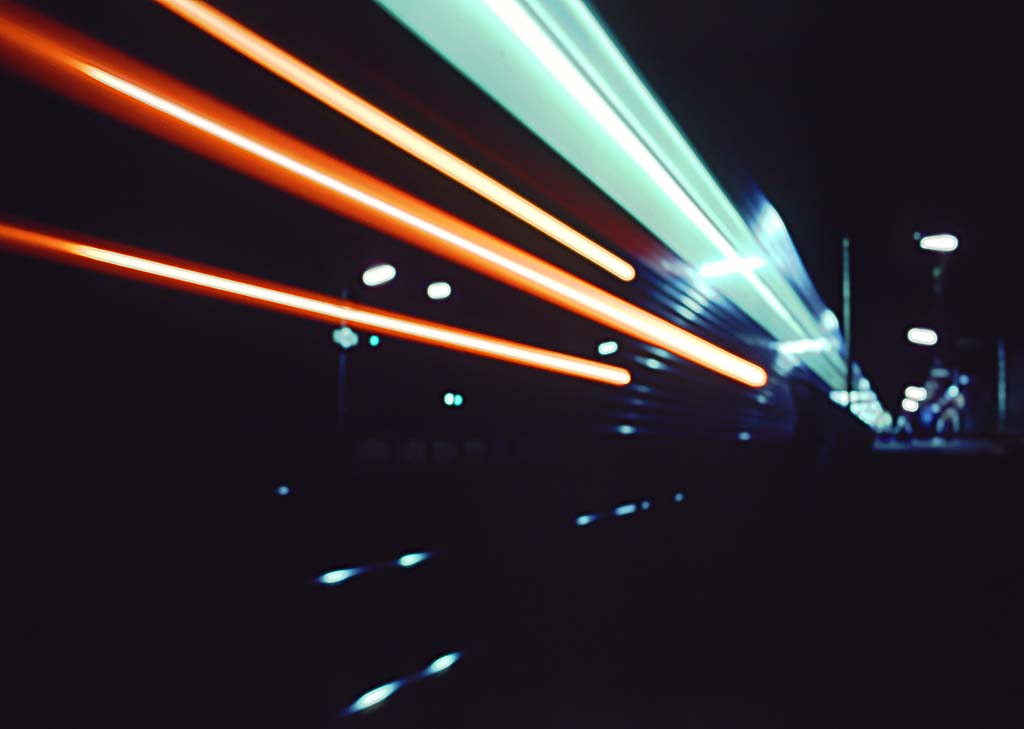
Slow shutter speeds can be used when you wish to gain a sense if movement or blurring of the image. In the image of the train above, the shutter speed was several seconds long, allowing the lights of the train to move across the image. It is very advisable when using slow shutter speeds to… Continue reading Slow Shutter Speed
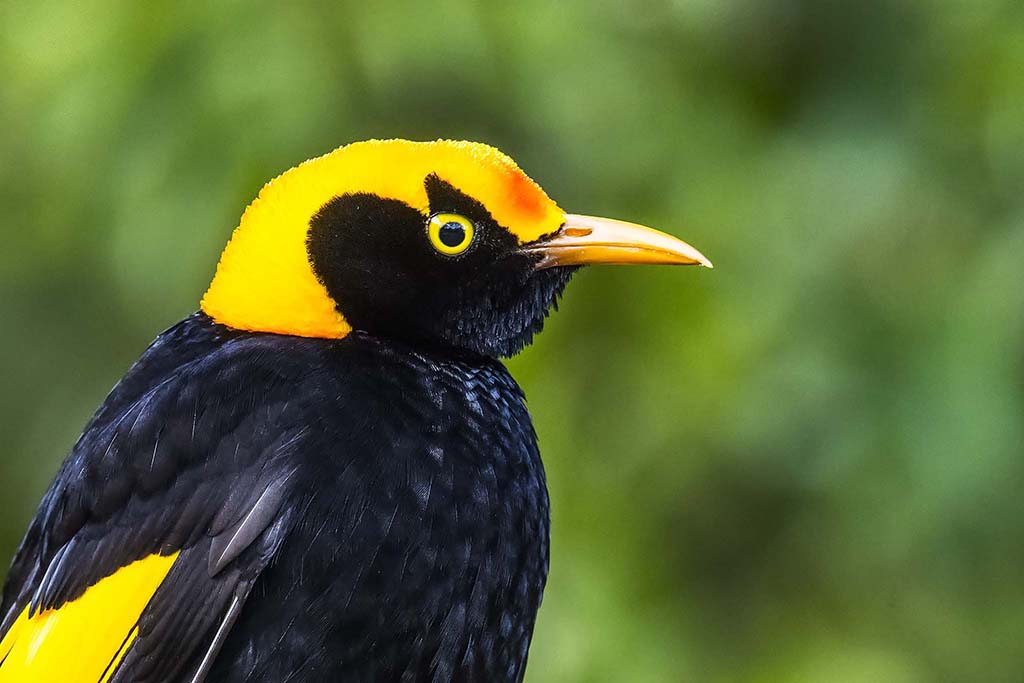
Isolating the Subject
Isolating the subject can assist in moving the viewers attention from the background to the main subject. IIn the case of the image below an aperture setting of f/4.0 and a shutter speed of 1/250 of a second was used. This low aperture with a 105mm telephoto lens helps to throw the background out of focus.
Camera Light Metering Mode Settings For Quality Images
Generally with modern cameras several exposure metering modes are available to select from. The metering is initiated by the half press of the shutter realease button. Metering Modes In most cameras the following modes may be available. Color Matrix Metering In this mode metering can be performed by a sensor with up to 1,000 pixels… Continue reading Camera Light Metering Mode Settings For Quality Images
Dynamic Range
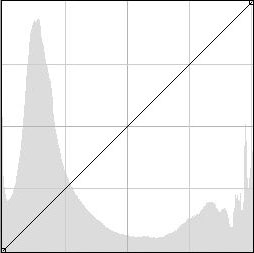
The Dynamic range of a camera can be defined as the ratio between the maximum and minimum light intensities from the sensor. The maximum ligjht intensity representing white and the minimum light intensity representing black. The dynamic range can be measured in f-stops to describe the overall light range available, summing up it is the… Continue reading Dynamic Range
Photographic Exposure

With any camera the digital sensor or film needs to receive the correct amount of light for the final image to be correctly balanced in respect to the intensity of the light and the colors and tone of the image. If the sensor receives too much light the image will be washed out and light toned, if the image receives insufficient light the image will be too dark and may appear muddy. If the images receives the correct amount of light the images will be well balanced in respect to colours and tone.
Shutter Speed
The shutter speed of the camera indicates how long the shutter remains open to let the light to the film or the digital sensor.
Slower shutter speeds will give a more blurred image and faster shutter speeds will help eliminate camera shake. A good rule to reduce camera shake is to use a shutter speed faster than the focal length of the lens in use. For example with a 100mm lens use a shutter speed of 1/100 of a second or shorter.
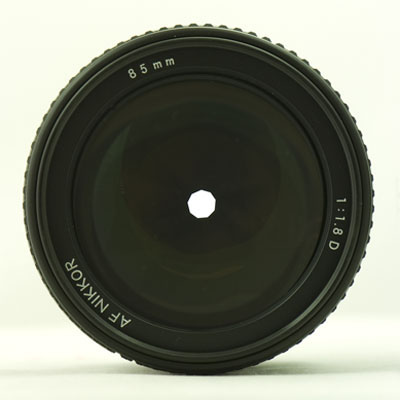
Lens Aperture
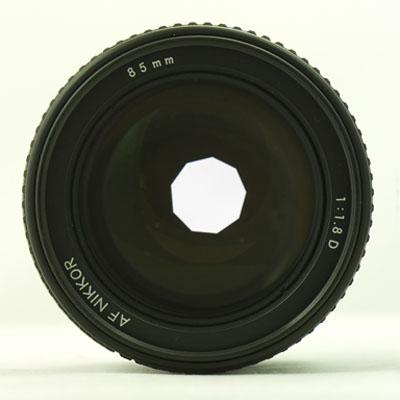
The aperture of the lens refers to the size of the opening inside the lens where the light passes through to reach the film or or the digital sensor. The f-stop number represent the ratio of the focal length of the lens to the diameter of the lens diaphragm opening of the lens. The f-stop number will control the depth of field of the image.
Principles of Photography
Photography is essentially about capturing light. Most of the light we capture in photography is reflected light from objects. There are exceptions such as the blazing light from a fire or light from a burst of fireworks or lightning. Light can be of a difuse nature, not emanating from a fixed source and this type of lighting can produce a very subdued and pleasing effect. Light can also be from a point source be very harsh and produce very hard shadows. Light can also come from different sources to produce different color effects. In every day life we see daylight, moonlight, artificial light, tungsten, fluorescent, infrared, flood lights, mercury vapour lights. In photography light creates the image. Light travels in straight lines and the further it gets from the source the weaker it gets.