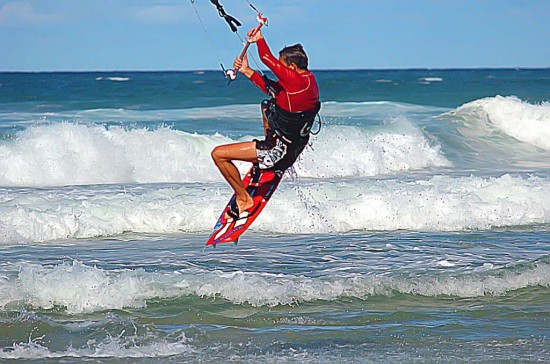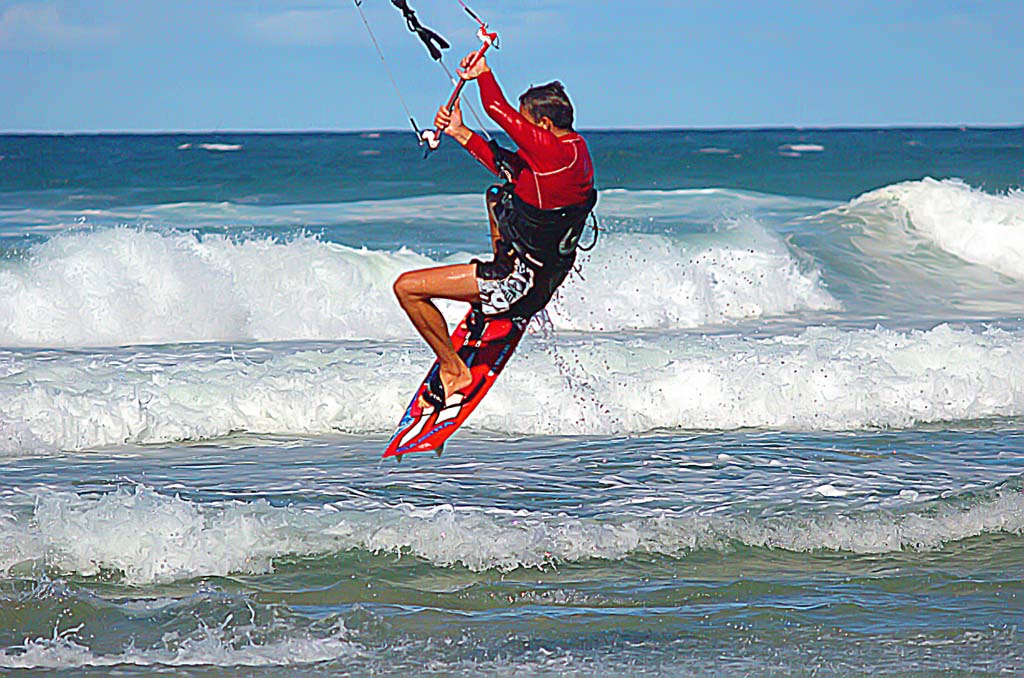
Any image of a moving subject will require a high shutter speed to avoid blurring of the subject. The kite surfer above was moving very fast and required good long lens technique and a very high shutter speed to avoid movement of the subject.
When long lenses are used, high shutter speeds will also be required to avoid camera shake which becomes difficult to avoid. For subjects such as this, a shutter speed in excess of 1/1000 of a second would be required. In order to achieve high shutter speeds requires the use of high ISO and also large apertures.
Many modern cameras will offer fast shutter speeds of up to 1/8,000 second and this will give a great advantage in capturing fast moving subjects.
Suggested Fast Shutter Speeds
- 1/8,000-1/4,000 second,
- Stopping extreme fast movement, such as the movement of objects like HIGH SPEED aircraft, trains cars etc.
- 1/4,000-1/2,000 second,
- To Freeze birds in flight, this will allow you to show the birds detail.
- 1/2,000-1/1,000 second,
- Stopping sports events and fast moving people, to completely stop all the action.
- 1/1,000 second,
- Stopping fast cars, motorcycles etc. to completely stop them.
- Catching birds at rest with a long telephoto lens.
- 1/250 second,
- Or faster for portraits, for wide aperture /shallow depth of field.
- 1/500 – 1/250 second,
- Stopping walking people or slow moving animals, slow movement of objects not moving very swiftly.
- 1/125 second,
- Or faster for wildlife, animals not moving very fast.
- Panning for cyclists, runners, automobiles etc., follow the subject while the shutter is open so that the subject is in focus but the background will be blurred with the panning.
- General landscapes, longer shutter speeds may show movement in grass, water and the sky.
- 1/15 second,
- Panning for swiftly running athletes and animals, will keep the subject in focus but blur the background to give a feeling of speed due to the panning action.
- 1/8 -1/2 second,
- Blurring of fast moving water, the faster the water the slower the shutter speed can be used to still show some movement. Very important to use a tripod.
- 1/4 second,
- Panning people, especially useful for street photography or when wanting to show the movement of people.
Deciding which shutter speed to use will be a matter of trial and error depending on how fast your subject is moving and what the available light is. Using shutter speed to your advantage will depend on having an understanding of what you are trying to achieve. Do you want to freeze the action of that athlete or do you want to give your image a sense of motion? Decide what you want, consult the above information and then adjust to see what you really like.
If you find that the image is not as sharp or blurrier than you would like it to be, use a faster shutter speed. If things are too crisp and sharp and you’re wanting to give a sense of motion, slow your shutter speed down. The shutter speed is always balanced against the three critical things,
- ISO,
- Aperture,
- Shutter speed.
If you want to use a faster shutter to stop the action in low light, you’re going to need to a wider aperture, a higher ISO, or possibly both. Always be aware of introduced noise if you use a higher ISO.
Some things to consider when learning to select shutter speeds:
Keep in mind when choosing your shutter speed, the longer your shutter is open, the better the chance of camera shake blurring your photos with instability of the camera, especially when shooting with a long lens. As a general rule of thumb, your shutter speed should not exceed your lens focal length when you are shooting handheld. If you are shooting with a 300mm lens, your shutter speed should be 1/300th of a second or faster to produce a desirable sharp image. If your shutter speed is slower than the reciprical of the length of your lens then I recommend that you get out the monopod or tripod. Image stabilization or vibration reduction in your camera or lens may help to reduce and negate some of the shake.
Learn shutter priority mode.
Using your camera’s “Shutter Priority Mode” is a great way to gain an understanding of the effect different shutter speeds can have on your images. Shutter priority mode allows you to select the shutter speed you want while the camera works out the ISO (if it is set on auto ISO) and aperture for a correctly exposed final image. Spend some time adjusting your camera and taking images on “Shutter Priority Mode” so that you can see the effects with different settings.

