In order to get the best benefit out of the excellent Z8 camera you really need to understand how the Extended Menu Banks work. The individual shooting banks A, B, C and D are used to effectively store and recall all of the settings which you may use on a regular basis. they can be customised for four different shooting scenarios. To make best use of the four banks you need to go to the Photo Shooting Menu and then to the Extended Menu Banks to enable the operation of the four banks.
Access the Shooting Menu Banks in the camera settings by locating in the Photo Shooting Menu the Shooting Menu Bank, then choose bankA, B, C or D.
Once a bank is selected you can then make any desired changes to exposure settings, shooting mode, aperture, shutter speed, etc for that bank, and the changes will be saved within that bank. You can also customize many other settings like focus area mode, white balance, etc. to the respective bank.
The set up you configure in the banks for your photography will totally depend on the style and type of photography you do. It is really an individual thing.
You can switch between banks using a custom FN button or through the i-menu. You can assign a custom button to change the shooting bank using the rear command dial.
When you switch between banks the camera remembers the settings of the previous bank and the new bank settings will be recalled as you last left them.
You can save al the custom settings of the banks to a memory card using the Save/Load function. This will allow you to back up your settings and restore them as required.
The banks I have set up are as follows.
A – General Outdoor
B – Landscapes
C – Wild Life General
D – Birds in Flight
The following is a breakdown of how I have set up and use Nikon Z8’s shooting menu banks.
A – General Outdoor
- White balance – Auto
- Image quality – Raw
- AF-area mode – Pin spot
- Focus mode – AF-S
- Fn1 button – Shooting menu bank
- Fn2 button – Choose image area
- Focus mode button – AF-area mode
- Metering – Centre weighted
- ISO – Auto
- Shutter – 1/100
- Aperture – f/5.6
B – Landscapes
- White balance – Auto
- Image quality – Raw
- AF-area mode – Pin spot
- Focus mode – AF-S
- Fn1 button – Shooting menu bank
- Fn2 button – Choose image area
- Focus mode button – AF-area mode
- Metering – Matrix
- ISO – Auto
- Shutter – 1/100
- Aperture – f/8

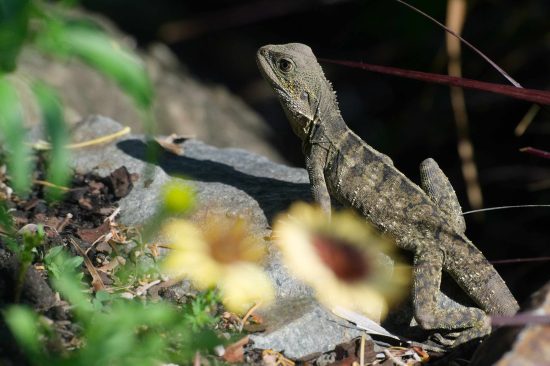
C – Wild Life General
- White balance – Auto
- Image quality – Raw
- AF-area mode – Birds
- Focus mode – AF-S
- Fn1 button – Shooting menu bank
- Fn2 button – Choose image area
- Focus mode button – AF-area mode
- Metering – Centre weighted
- ISO – Auto
- Shutter – 1/1,000
- Aperture – f/9
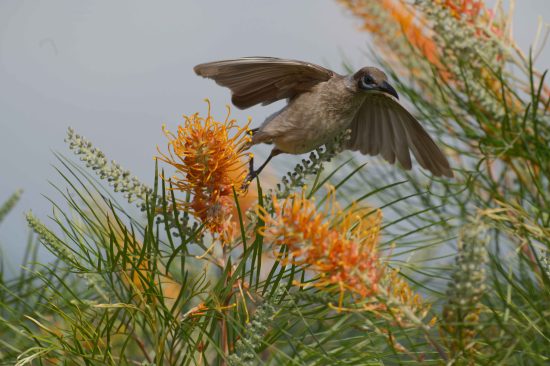
D – Birds in Flight
- White balance – Auto
- Image quality – Raw
- AF-area mode – Birds
- Focus mode – AF-C
- Fn1 button – Shooting menu bank
- Fn2 button – Choose image area
- Focus mode button – AF-area mode
- Metering – Spot weighted
- ISO – Auto
- Shutter – 1/2,500
- Aperture – f/9
It should be noted that when you are in a certain bank and you make changes whilst in the bank, then any settings you change will be saved to that bank. Once all these settings have been completed it is so easy to switch between extended bank A, B, C or D and not needing to worry about changing multiple settings in the menu.

