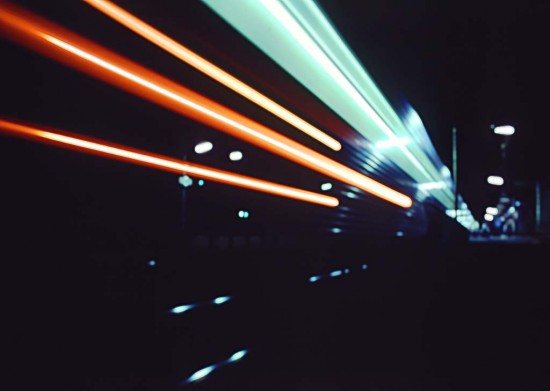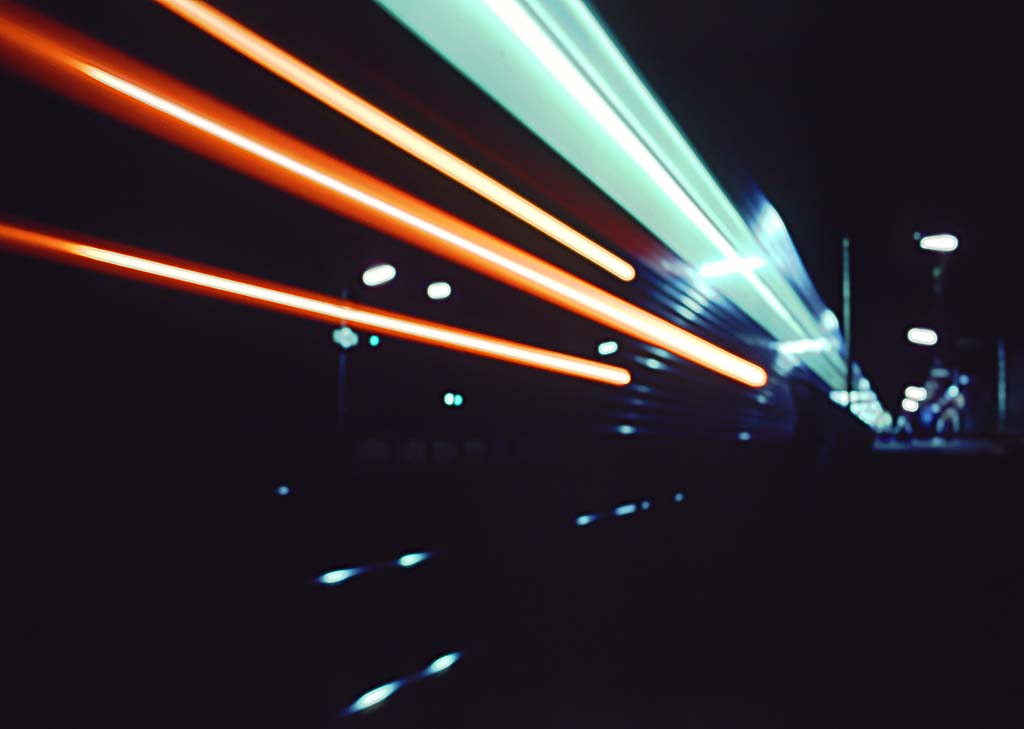
Slow shutter speeds can be used when you wish to gain a sense if movement or blurring of the image. In the image of the train above, the shutter speed was several seconds long, allowing the lights of the train to move across the image.
It is very advisable when using slow shutter speeds to give some support to the camera. For shutter speeds down to around 1/8 second a monopod can be used to stabilise the camera, but with slower shutter speeds it is much better to use a tripod and some type of cable or remote release to ensure there is no camera movement.
Suggested Slow Shutter Speeds
- 1/8 -1/2 second,
- Blurring of fast moving water, the faster the water the faster the shutter speed can be used to still show some movement. Try this to to see different results. Very important to use a tripod.
- 1/4 second,
- Panning people, especially useful for street photography or when wanting to show the movement of people.
- 5 seconds or more,
- Blurring waterfalls, seascapes and rivers etc., shorter shutter speeds will retain some texture, longer shutter speeds will produce a smoother, more dreamy effect. Very important to use a tripod for extra stability.
- 20 seconds or more,
- Astro-photography, use the fastest shutter speed possible at your desired aperture and ISO to avoid the star trails tracking across the sky due to the earth’s rotation.
- 10 minutes or more,
- Star trails, can be done using a single long exposure or more commonly, a series of exposures stacked together in post processing to reduce the effect of noise on the final image.
Deciding which shutter speed to use will be a matter of trial and error depending on how fast your subject is moving and what the available light is. Using shutter speed to your advantage will depend on having an understanding of what you are trying to achieve. Do you want to freeze the action of that athlete or do you want to give your image a sense of motion.? Decide what you want, consult the above information, and then adjust to suit what you really like.
If you find that the image is not as sharp or blurrier than you would like it to be, use a faster shutter speed. If things are too crisp and sharp and you’re wanting to give a sense of motion, slow your shutter speed down. The shutter speed is always balanced against the three critical things:
- ISO,
- Aperture,
- Shutter speed.
If you want to use a fast shutter to stop the action in low light, you’re going to need to a wider aperture, a higher ISO, or both if required. Always be aware of introduced noise if you use a higher ISO.
Some things to consider when learning to select shutter speeds:
Keep in mind when choosing your shutter speed, the longer your shutter is open, the better the chance of camera shake blurring your photos with instability of the camera, especially when shooting with a long lens. As a general rule of thumb, your shutter speed should not exceed your lens focal length when you are shooting handheld. If you are shooting with a 300mm lens, your shutter speed should be 1/300th of a second or faster to produce a desirable sharp image. If your shutter speed is slower than the reciprical of the length of your lens then I recommend that you get out the monopod or tripod. Image stabilization or vibration reduction in your camera or lens may help to reduce and negate some of the shake.
Learn in shutter priority mode.
Using your camera’s “shutter priority mode” is a great way to gain an understanding of the effect different shutter speeds can have on your images. Shutter priority mode allows you to select the shutter speed you want while the camera works out the ISO (if it is set on auto ISO mode) and aperture for a correctly exposed final image. Spend some time adjusting you camera and taking images on “Shutter Priority Mode” so that you can see the effects with different settings.
You can always use neutral density filters to give longer exposures. Even with your camera set at the lowest desirable ISO and narrowest aperture, you may want to try a neutral density (ND) filter. ND filters cut down on the incoming light and allow you to take longer exposures that may blur waterfalls, seascapes and ocean waves. ND filters are also useful if you want to take a long exposure on a bright day to show movement in clouds

