The shutter speed of the camera indicates how long the shutter remains open to let the light to the film or the digital sensor.
Slower shutter speeds will give a more blurred image and faster shutter speeds will help eliminate camera shake. A good rule to reduce camera shake is to use a shutter speed faster than the focal length of the lens in use. For example with a 100mm lens use a shutter speed of 1/100 of a second or shorter.
Category: Exposure, Aperture, Shutter Speed, ISO
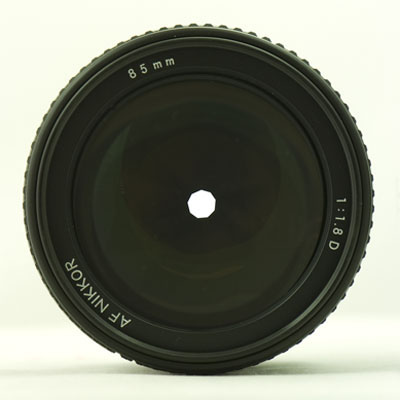
Lens Aperture
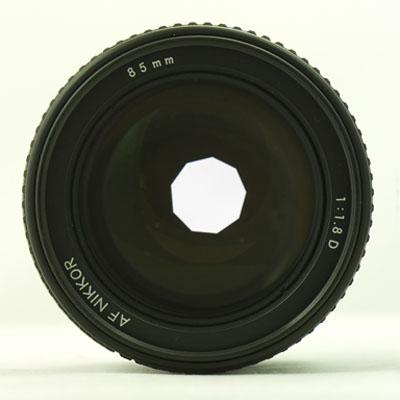
The aperture of the lens refers to the size of the opening inside the lens where the light passes through to reach the film or or the digital sensor. The f-stop number represent the ratio of the focal length of the lens to the diameter of the lens diaphragm opening of the lens. The f-stop number will control the depth of field of the image.
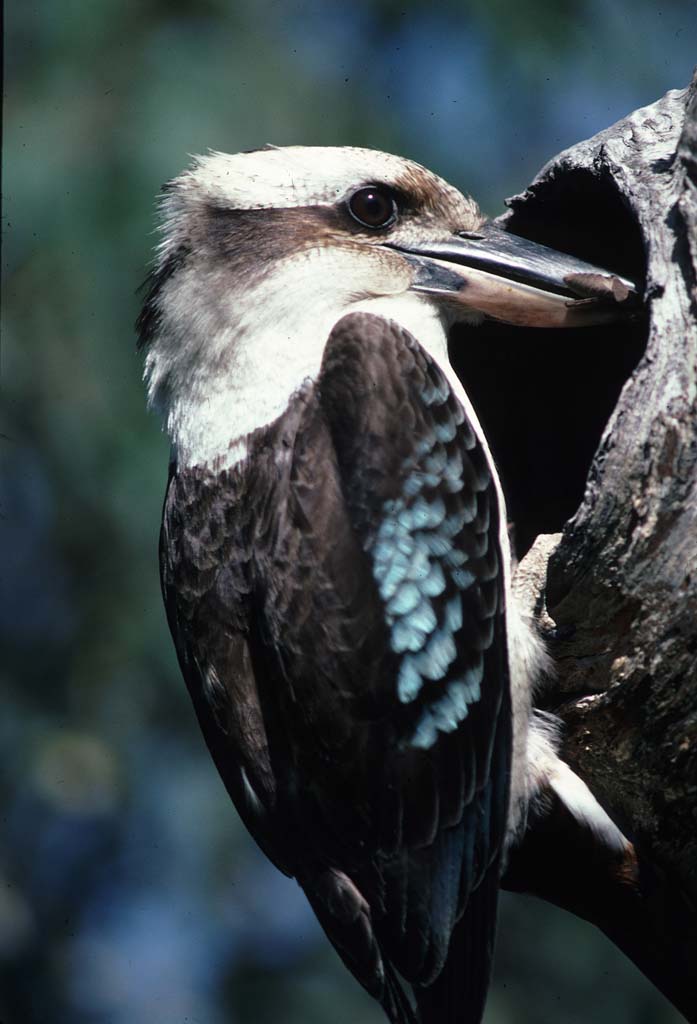
Principles of Photography
Photography is essentially about capturing light. Most of the light we capture in photography is reflected light from objects. There are exceptions such as the blazing light from a fire or light from a burst of fireworks or lightning. Light can be of a difuse nature, not emanating from a fixed source and this type of lighting can produce a very subdued and pleasing effect. Light can also be from a point source be very harsh and produce very hard shadows. Light can also come from different sources to produce different color effects. In every day life we see daylight, moonlight, artificial light, tungsten, fluorescent, infrared, flood lights, mercury vapour lights. In photography light creates the image. Light travels in straight lines and the further it gets from the source the weaker it gets.