
The above image has been processed in Photomatix to acheive a psuedo HDR image. Normally two or more images would be processed together to produce an HDR image but single images can be improved. The image below is the original image.

The following is the process to implement HDR from a single image using Photomatix.
Firstly select, View/Preferences. Then select the tabs for the preferences as follows.
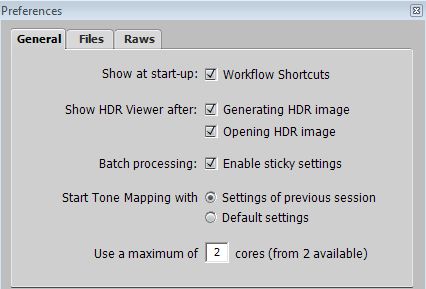
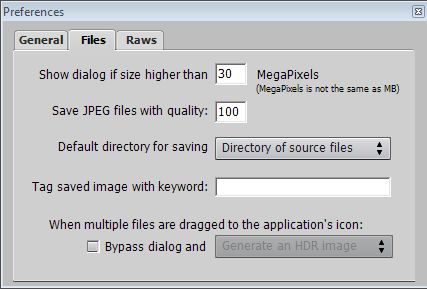
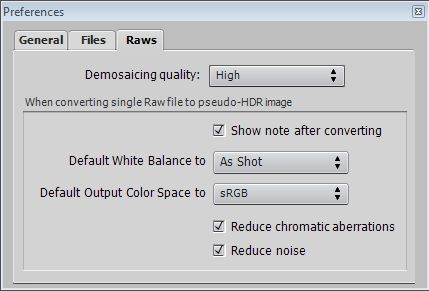
Next open the file, File/Open and the following Information dialogue box will appear.
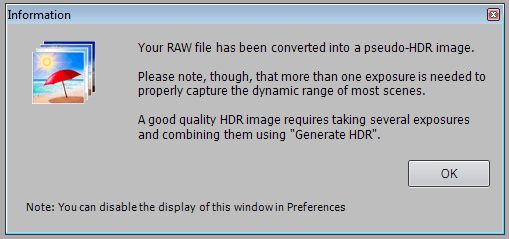
Click OK and the following Tone Mapping screeen will appear.
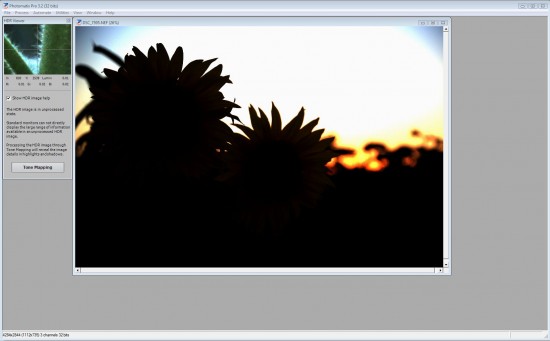
The above is in the unprocessed stateProcessing through tone mapping will reveal the details of the image. Click on Tone Mapping to commence the processing.
Introduction
When an HDR image is generated from differently exposed photos, it can not be viewed properly on standard monitors or on prints. This is because the raw HDR image contains a range of values from the deepest shadows to the brightest highlights that exceeds the reproducing capacity of monitors.
This is why it is necessary to process the HDR image, mapping the tonal values so that they fit the limited tonal range of display and printing devices. The details in highlights and shadows stored in the 32-bit HDR image will then become apparent on 8-bit displays. This process is also known as Tone Mapping.
Photomatix Pro can provide two methods for tone mapping the HDR image. The first method is called Details Enhancer and the other method is Tone Compressor.
The following outlines the setting for both these methods.
Details Enhancer
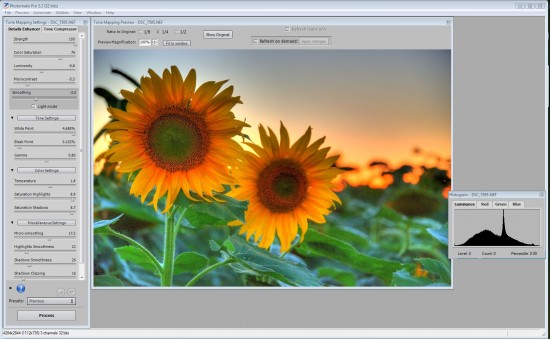
With the details Enhancer the following adjustments are available.

Strength – Controls the strength of the contrast enhancements.
Color Saturation – Controls the saturation of the color.
Luminosity – Controls how the tonal range is compressed.
Microcontrast – Sets how much local details are amplified. A higher value makes the image look ‘sharper.
Smoothing – Controls smoothing of the contrast variations in the image. High values give a more natural look, low values a more artificial look. Smoothing is available in two modes, in the form of a slider, and in the Light mode in the form of buttons.
White Point and Black Point – Both sliders control how the minimum and maximum values of the tone mapped image are set.
Gamma – Adjusts the mid-tone of the tone mapped image.
Color Temperature – Adjusts the color temperature of the tone mapped image.
Saturation Highlights – Adjusts the color saturation of the highlights.
Saturation Shadows – Adjusts the color saturation of the shadows.
Micro-smoothing – Smoothes out local detail. This has the effect of reducing noise in the sky for instance, and tends to give a cleaner look to the resulting image.
Highlights Smoothing – Reduces contrast enhancements in the highlights. Can prevent the highlights from turning grey.
Shadows Smoothing – Reduces contrast enhancements in the shadows.
Shadows Clipping – Controls how much the shadows range is clipped. Can reduce noise in the dark areas of a photo taken in a low-light situation.
360º image – Checking this option eliminates the seam between the left and right sides of a panorama viewed in a 360o panoramic viewer.
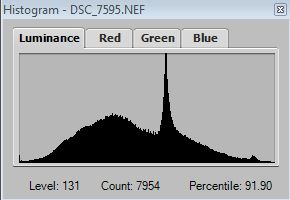
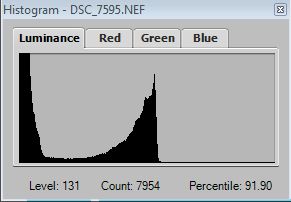
When adjusting the above Details Enhancer sliders keep an eye on the Histogram to ensure there is no clipping.
Tone Compressor
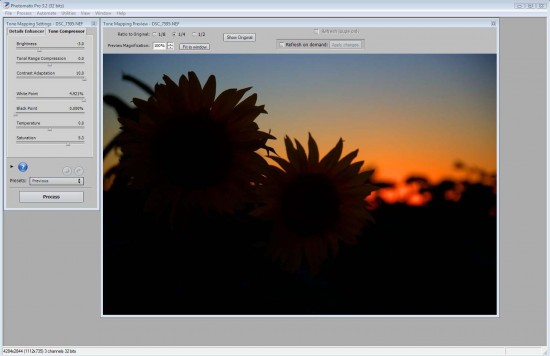
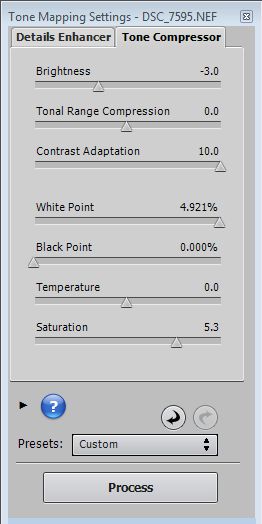
The Tone Compressor settings are as followrs.
Brightness – Adjusts the brightness of the tone mapped image.
Tonal Range Compression – Controls the compression of the tonal range. Moving the slider has the effect of shifting both shadows and highlights toward the mid-tones in the tone mapped image.
Contrast Adaptation – Adjusts the influence of the average brightness in relation to the intensity of the processed pixel. Gives more pronounced colors or a more natural look depending on the sliders.
White Point – Black Point – Both sliders control how the minimum and maximum values of the tone mapped image are set. Moving the sliders to the right increases global contrast. Moving them to the left reduces clipping at the extremes. The White Point slider sets the value for the maximum of the tone mapped image (pure white, or level 255). The Black Point slider sets the value for the minimum of the tone mapped image (pure black, or level 0).
Brightness – Adjusts the overall brightness of the tone mapped image.
Color Temperature – Adjusts the color temperature of the tone mapped image relative to the temperature of the HDR source image.
Color Saturation – Adjusts the color saturation of the tone mapped image.
When adjusting the above Tone Compressor sliders keep an eye on the Histogram to ensure there is no clipping.
The process for handling multiple HDR images is similar to the single image above but the multiple images are loaded into Photomatix at the start of the process. Multiple image are usually exposed plus or minus 1 stop and then combined in Photomatix.
